Manual
What Is This?
Tell me something about this system
CloudyZx School management system is uses for manage education based organization like school, college, universities etc. Or user can use it different purposes. Please read this documentation before you make your own.
Features
Unlimited user role & Permission Module.
Unlimited System admin.
Privileged User can create Teacher, Accountant, Librarian, Student, Parents account.
Privileged User can create student class.
Privileged User can create student section.
Privileged User can create grading point.
Privileged User can create student subject.
Privileged User can create exam & exam schedule.
Privileged User can give student mark.
Privileged User can create student class routine.
Privileged User can give student attendance.
Privileged User can give student exam attendance.
Privileged User can give teacher daily attendance.
Privileged User can give stuff daily attendance.
Privileged User can upload student activities.
Privileged User can give promotion student one class to another class.
Privileged User & Librarian can add student as library member.
Privileged User can add library book.
Privileged User & Librarian can issue a book for student.
Privileged User & Librarian also see library fine history.
Privileged User can create transport route.
Privileged User & Accountant can add transport member.
Privileged User can create hostel & hostel category list.
Privileged User & Accountant can add student as hostel member.
Privileged User can create student fee type.e.g(Admission fee)
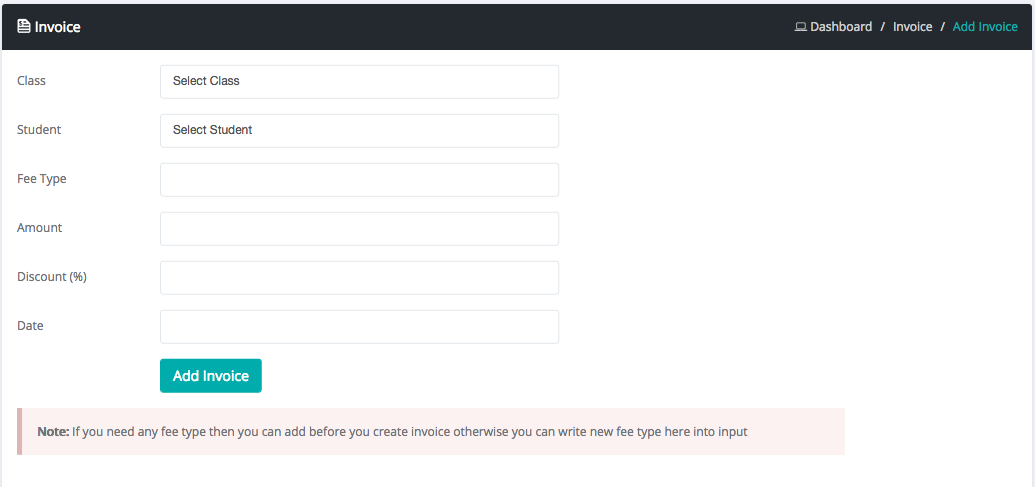
Privileged User & Accountant add invoice for student.
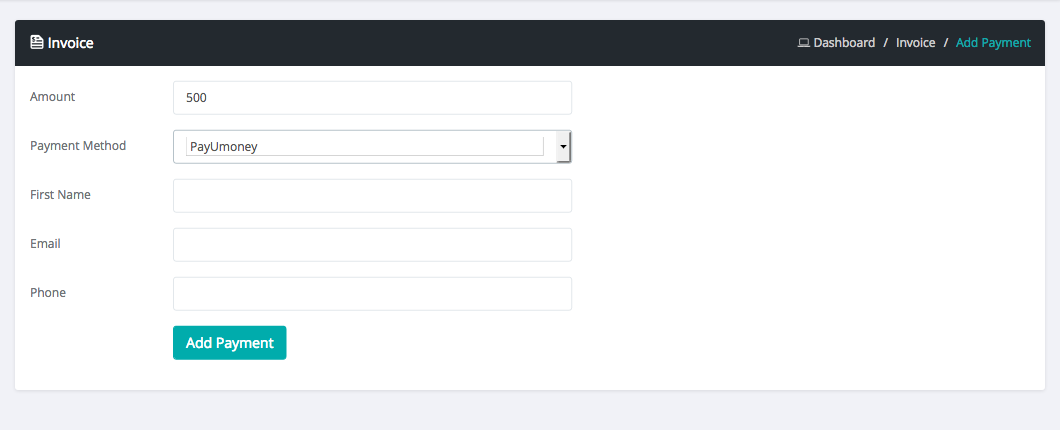
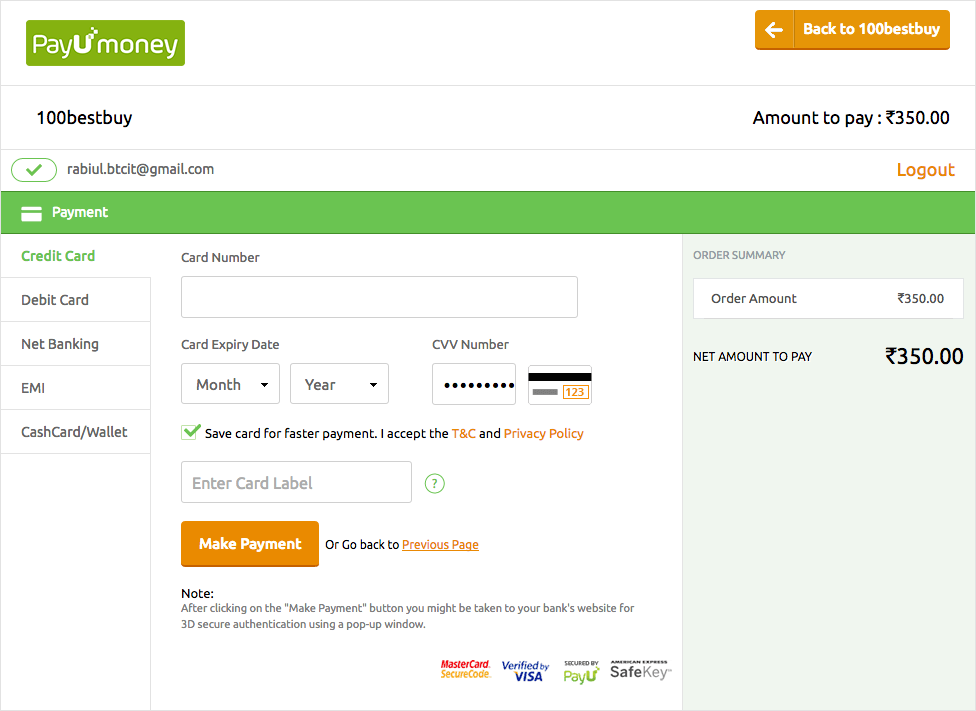
Privileged User, Accountant ,parent & student can payment invoice via PayPal, Stripe, PayUmoney, cash & cheque.
Privileged User can setup mark via mark setting.
Privileged User & Accountant can see student account balance amount.
Privileged User & Accountant can add expense.
Privileged User can setup Online Payment Settings settings.
Privileged User & Teacher can share media. Two type of media file access permission - public and class group.
Privileged User & All users can send internal message with attachment.
Privileged User can create SMS/Mail Template for particular sms/mail purpose.
Privileged User can send SMS/Mail for all user by group.
Privileged User can setup SMS/Mail settings for sms.
Clicktell, BulkSMS, Twilio & Msg91 sms gateways are available.
Privileged User can create notice.
Privileged User can print student report.
Privileged User can set event and other user see on calender.
Privileged User can set holiday and other user see on calender.
Privileged User & all user can change there password.
Privileged User & all user can see there profile.
Privileged User can block any type of users login.
Privileged User can reset any type of user password.
Two type of attendance system. Daywise and Subjectwise.
Student can see there payment/invoice history, issue book, media and other features.
Parents can see there children activities.
It has 15 different types language support.
Privileged User can generate Frond-end Theme with Cms feature and built-in website
Privileged User can manage settings update with front-end disable and enable feature
Privileged User can manage multiple dynamic page.
Update Features v5.2
Bulk question import feature add
Random question system add for online exam
Invoice minor bug fixing
How to Start
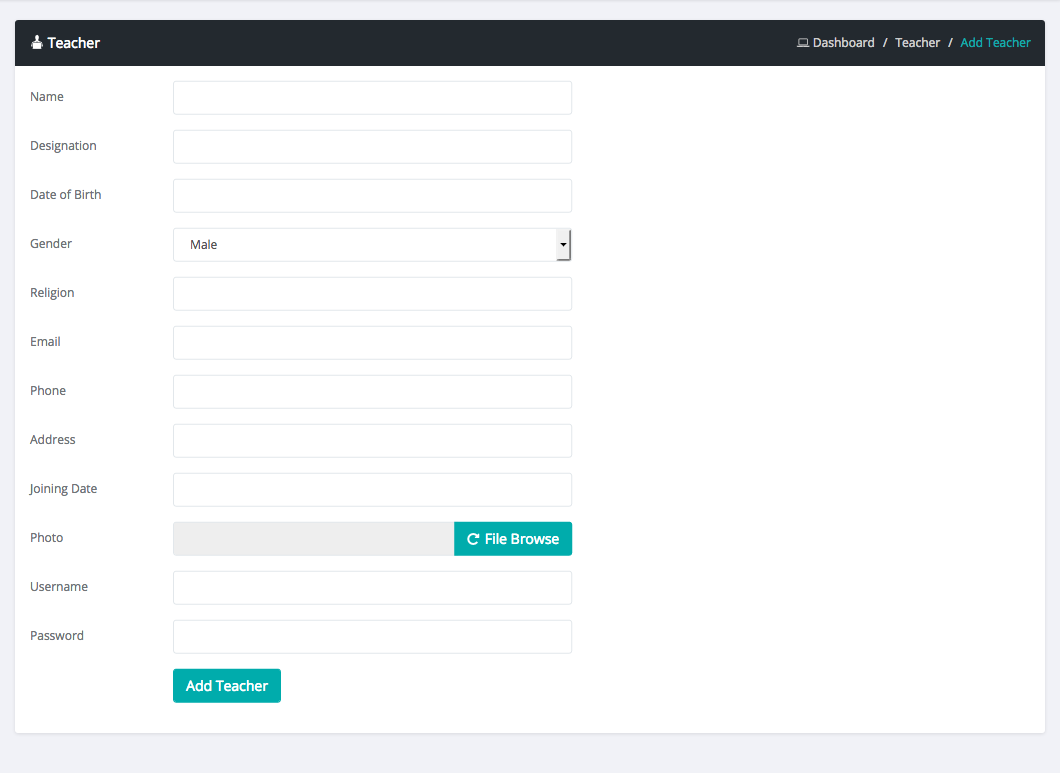
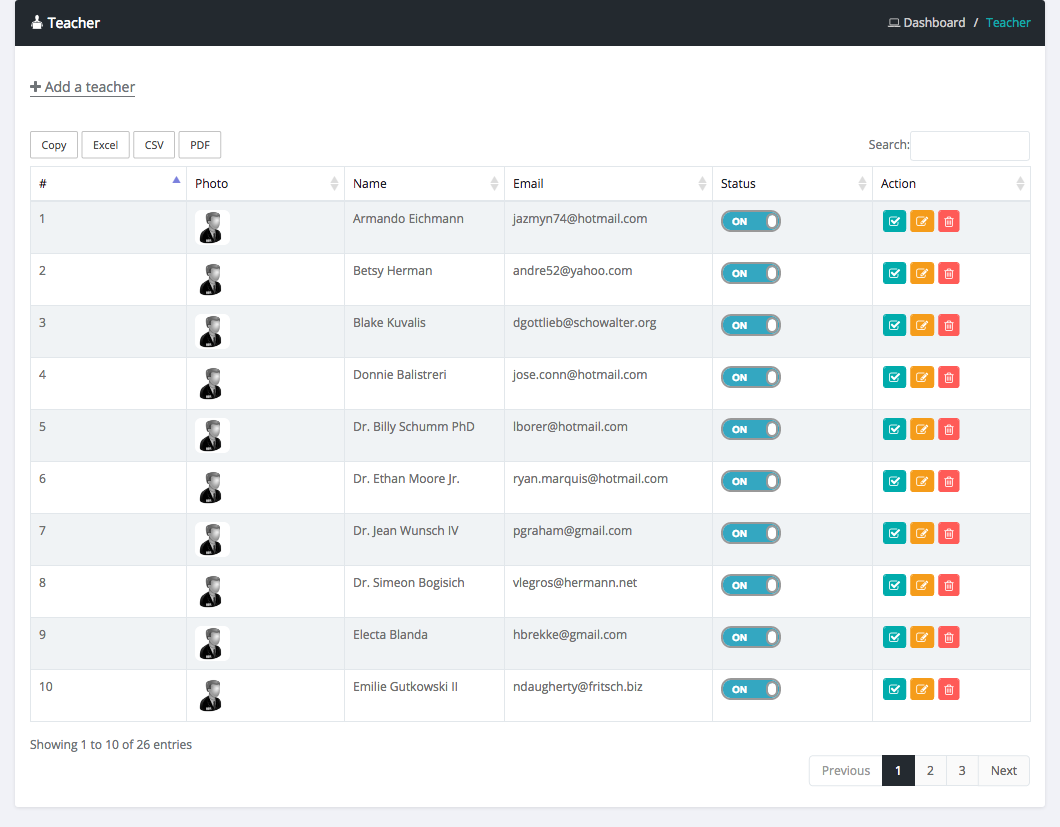
1. ADD Teacher
At first Add Teacher. Please follow below steps :
Login as admin
Select teacher menu in sidebar
Click Add Teacher & fill out the all information
Then Click Add Teacher Button
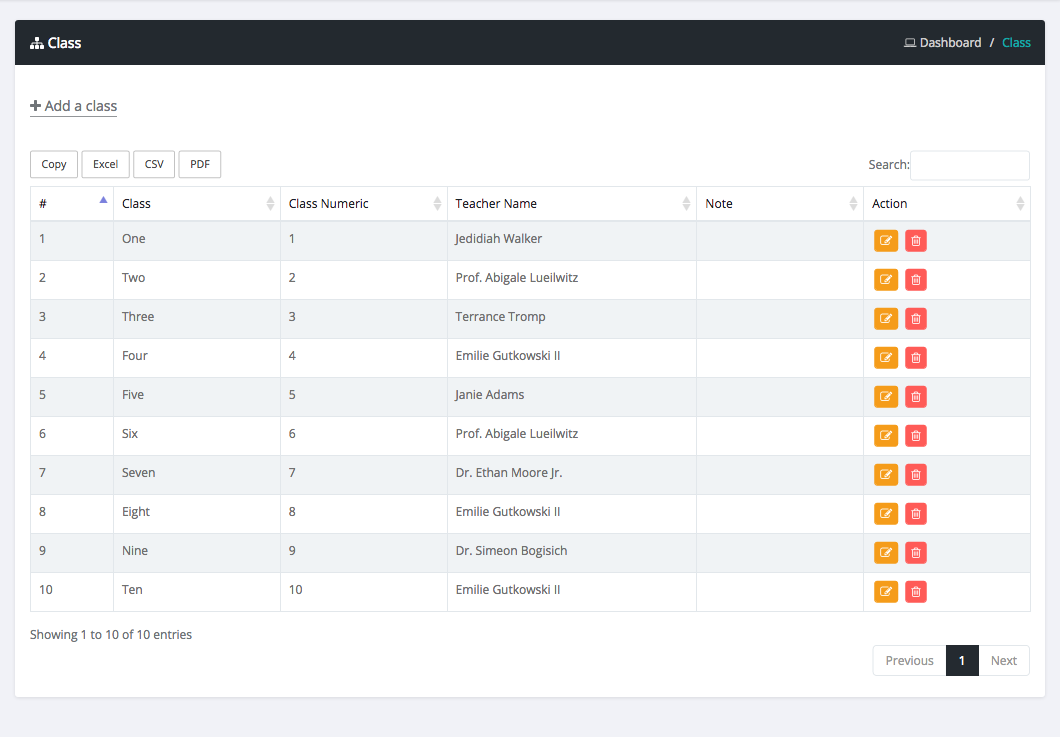
2. ADD Class
Add Class. Please follow below steps :
Login as admin
Select class menu in sidebar
Click Add class & fill out the all information
Then Click Add Class Button
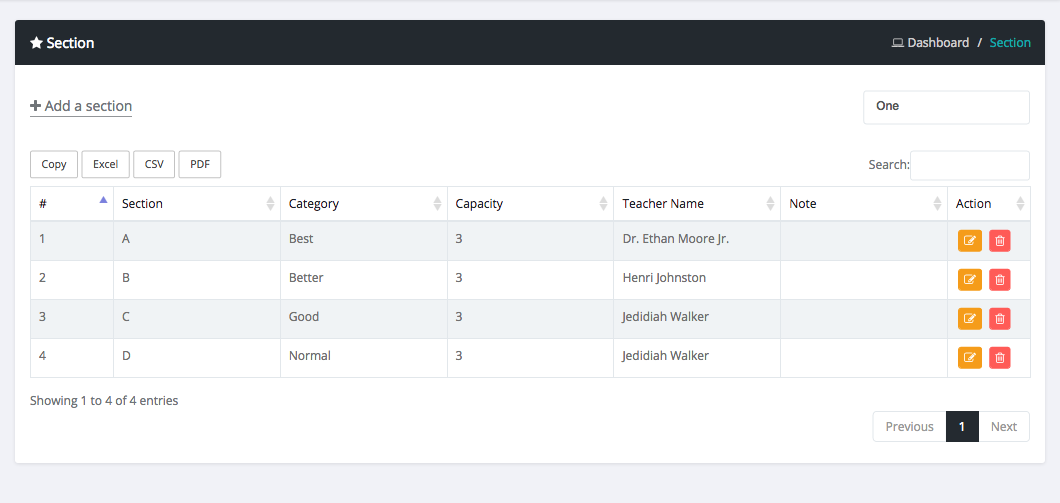
3. ADD Section
Add Section. Please follow below steps :
Login as admin
Select section menu in sidebar
Click Add section & fill out the all information
Then Click Add Section Button
4. ADD Parents
Add Parents. Please follow below steps :
Login as admin
Select parents menu in sidebar
Click Add parents & fill out the all information
Then Click Add Parents Button
5. ADD Student
Add Student. Please follow below steps :
Login as admin
Select student menu in sidebar
Click Add student & fill out the all information
Then Click Add Student Button
Academic Section
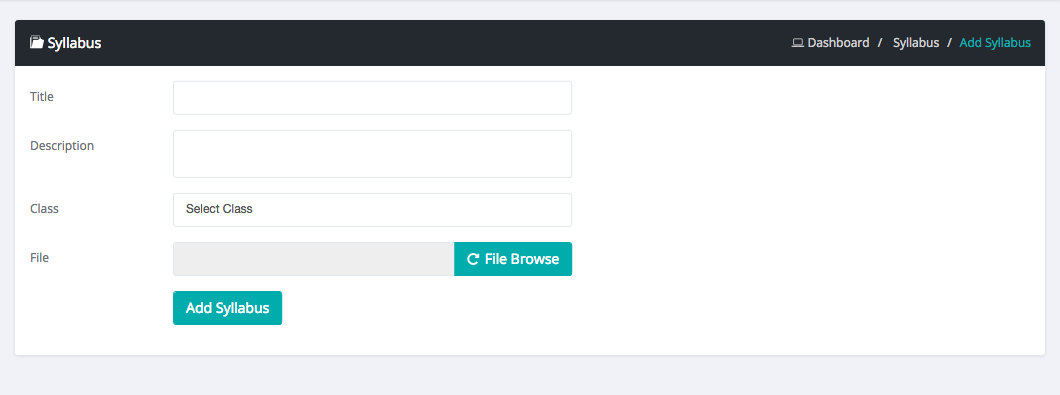
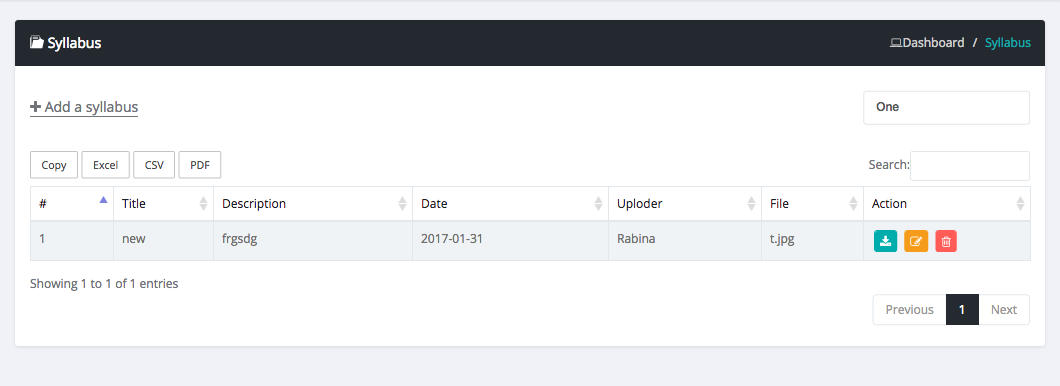
How to manage Syllabus?
Login as admin
Select Syllabus sub menu from academic menu
Here you can add/edit/delete & view class syllabus
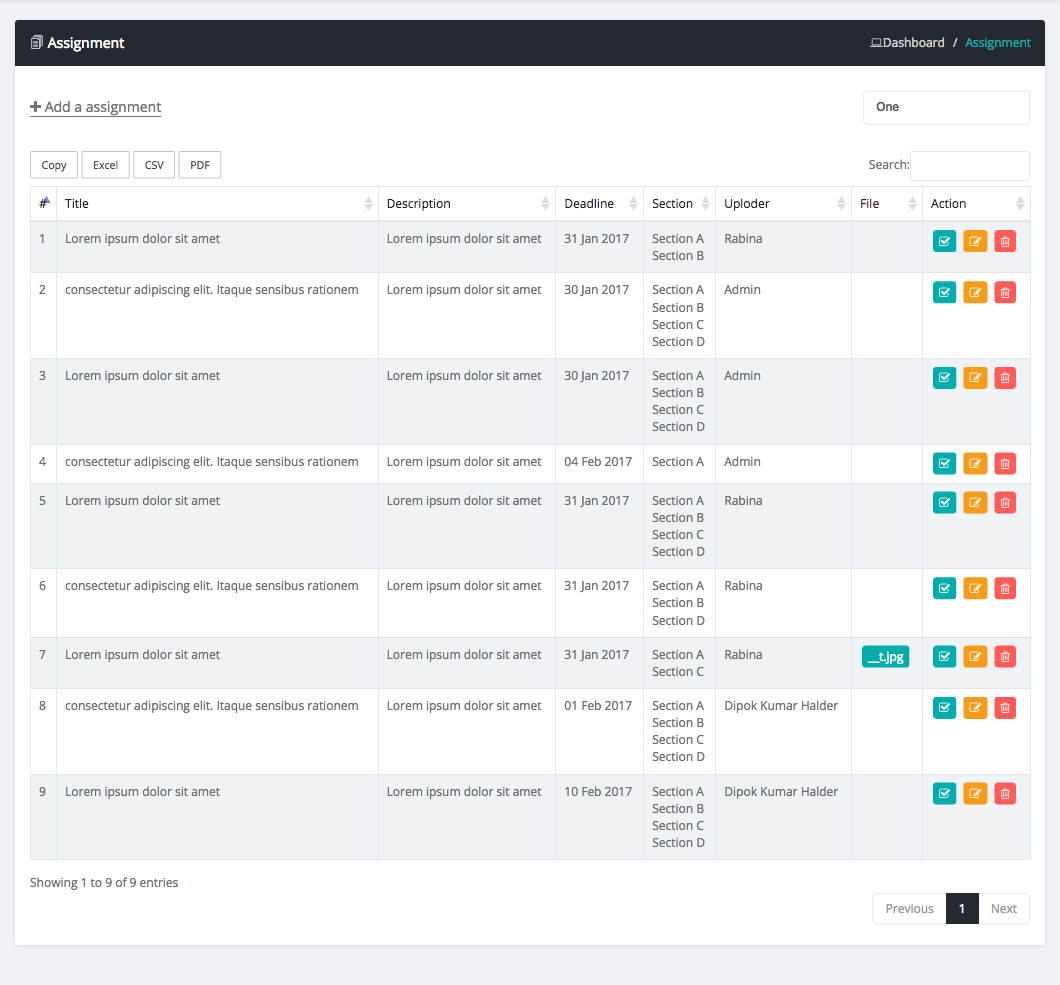
How to manage Assignment?
Login as admin
Select Assignment sub menu from academic menu
Here you can add/edit/delete & view class Assignment
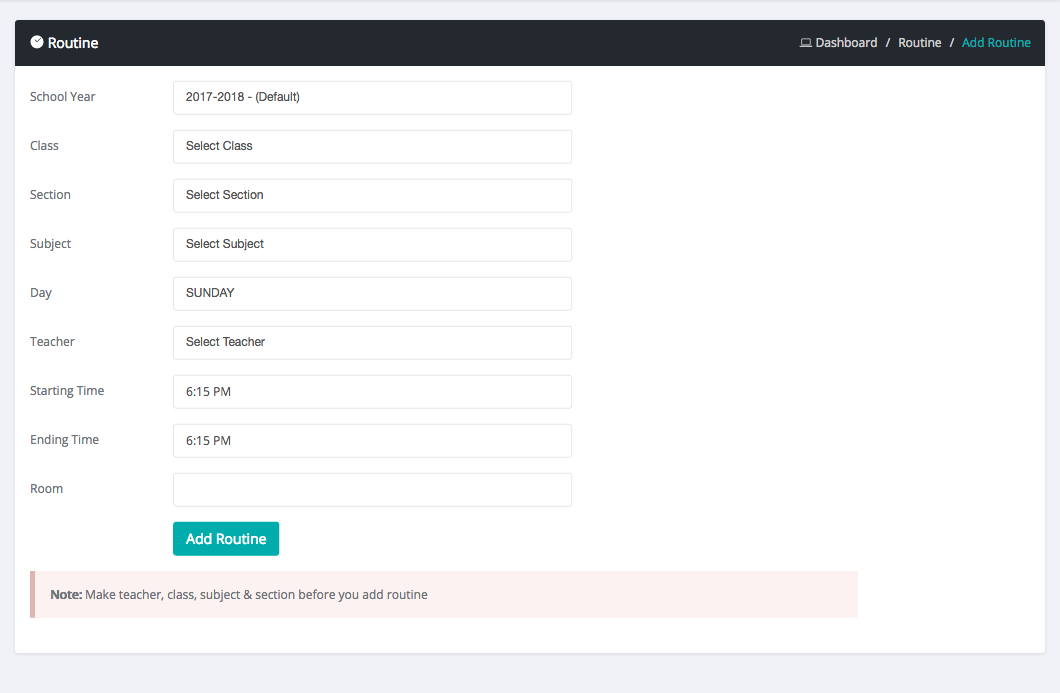
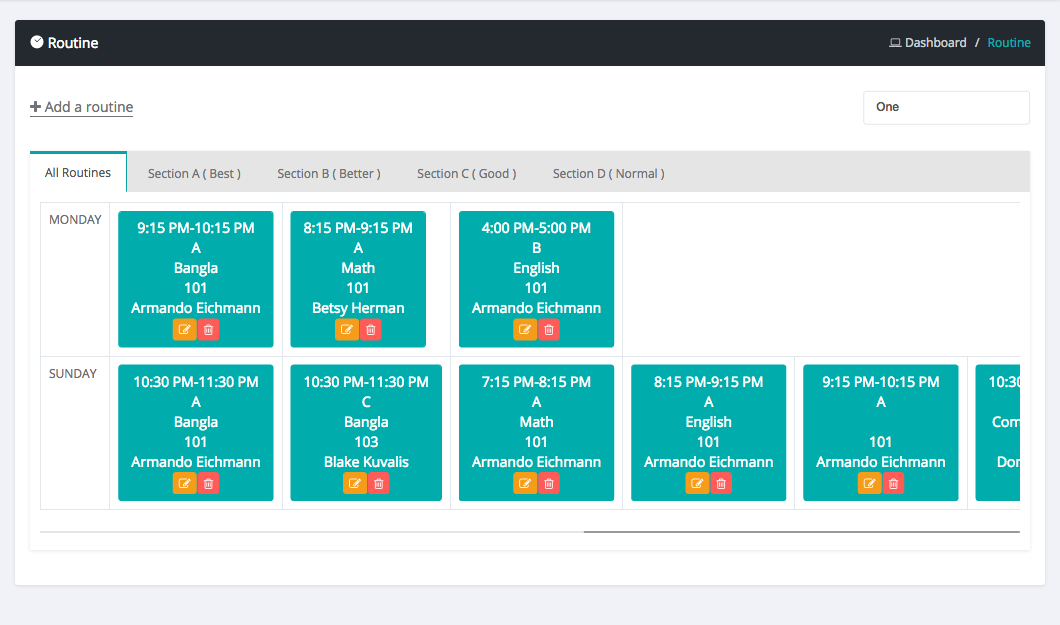
How to manage Routine?
Login as admin
Select Routine sub menu from academic menu
Here you can add/edit/delete & view class Routine
How to manage Routine?
Login as admin
Select Routine sub menu from academic menu
Here you can add/edit/delete & view class Routine
Mark Manage
How to Manage Mark?
Login as admin
Select Mark sub menu from mark menu
Then select exam, class, section & subject
Now it will shows up all student list of this class
Give Mark and submit data.
How to Set Mark Percentage?
Login as admin
Select Mark percentage sub menu from mark menu
Then fill input and save data
How to Set Mark Setting?
Login as admin
Select Mark Setting sub menu from settings menu
Then select mark type and configure your mark style
Now update it
User Role Permission
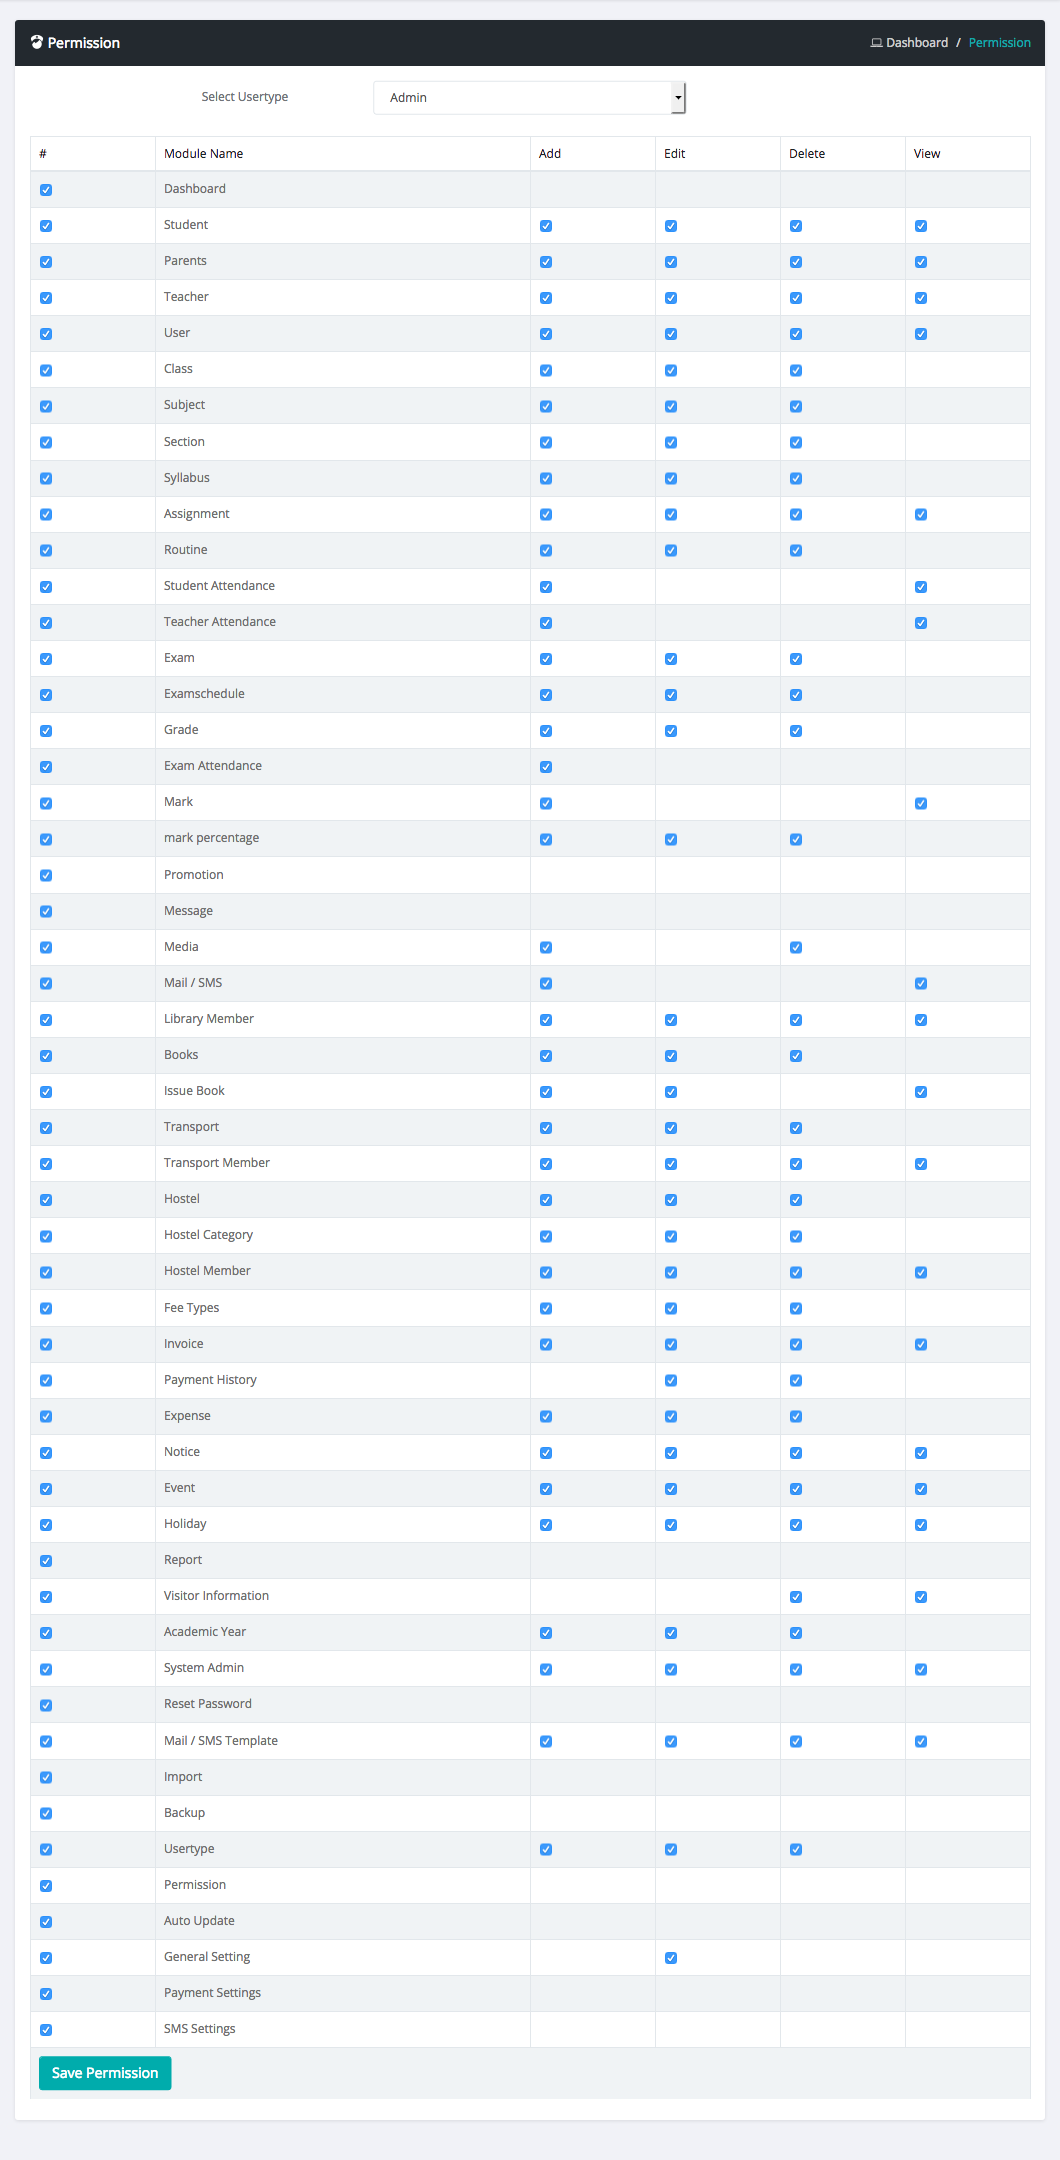
How to Set User Permission ?
Login as admin
Select Administrator settings menu
Then select user type and set permission of that user type.
Exam Management
How to Create Exam?
Login as admin
Select Exam sub menu from exam menu
Then click add a exam button and fill all fields and submit
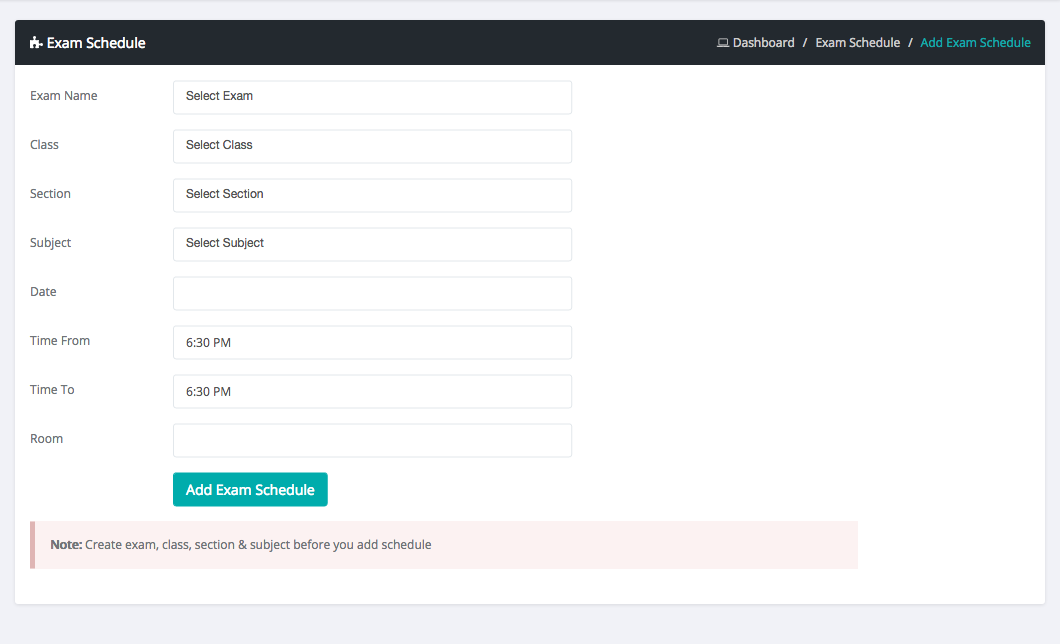
How to Create Exam schedule ?
Login as admin
Select Exam schedule sub menu from exam menu
Then click add a exam schedule button and fill all fields and submit
Online Exam Management
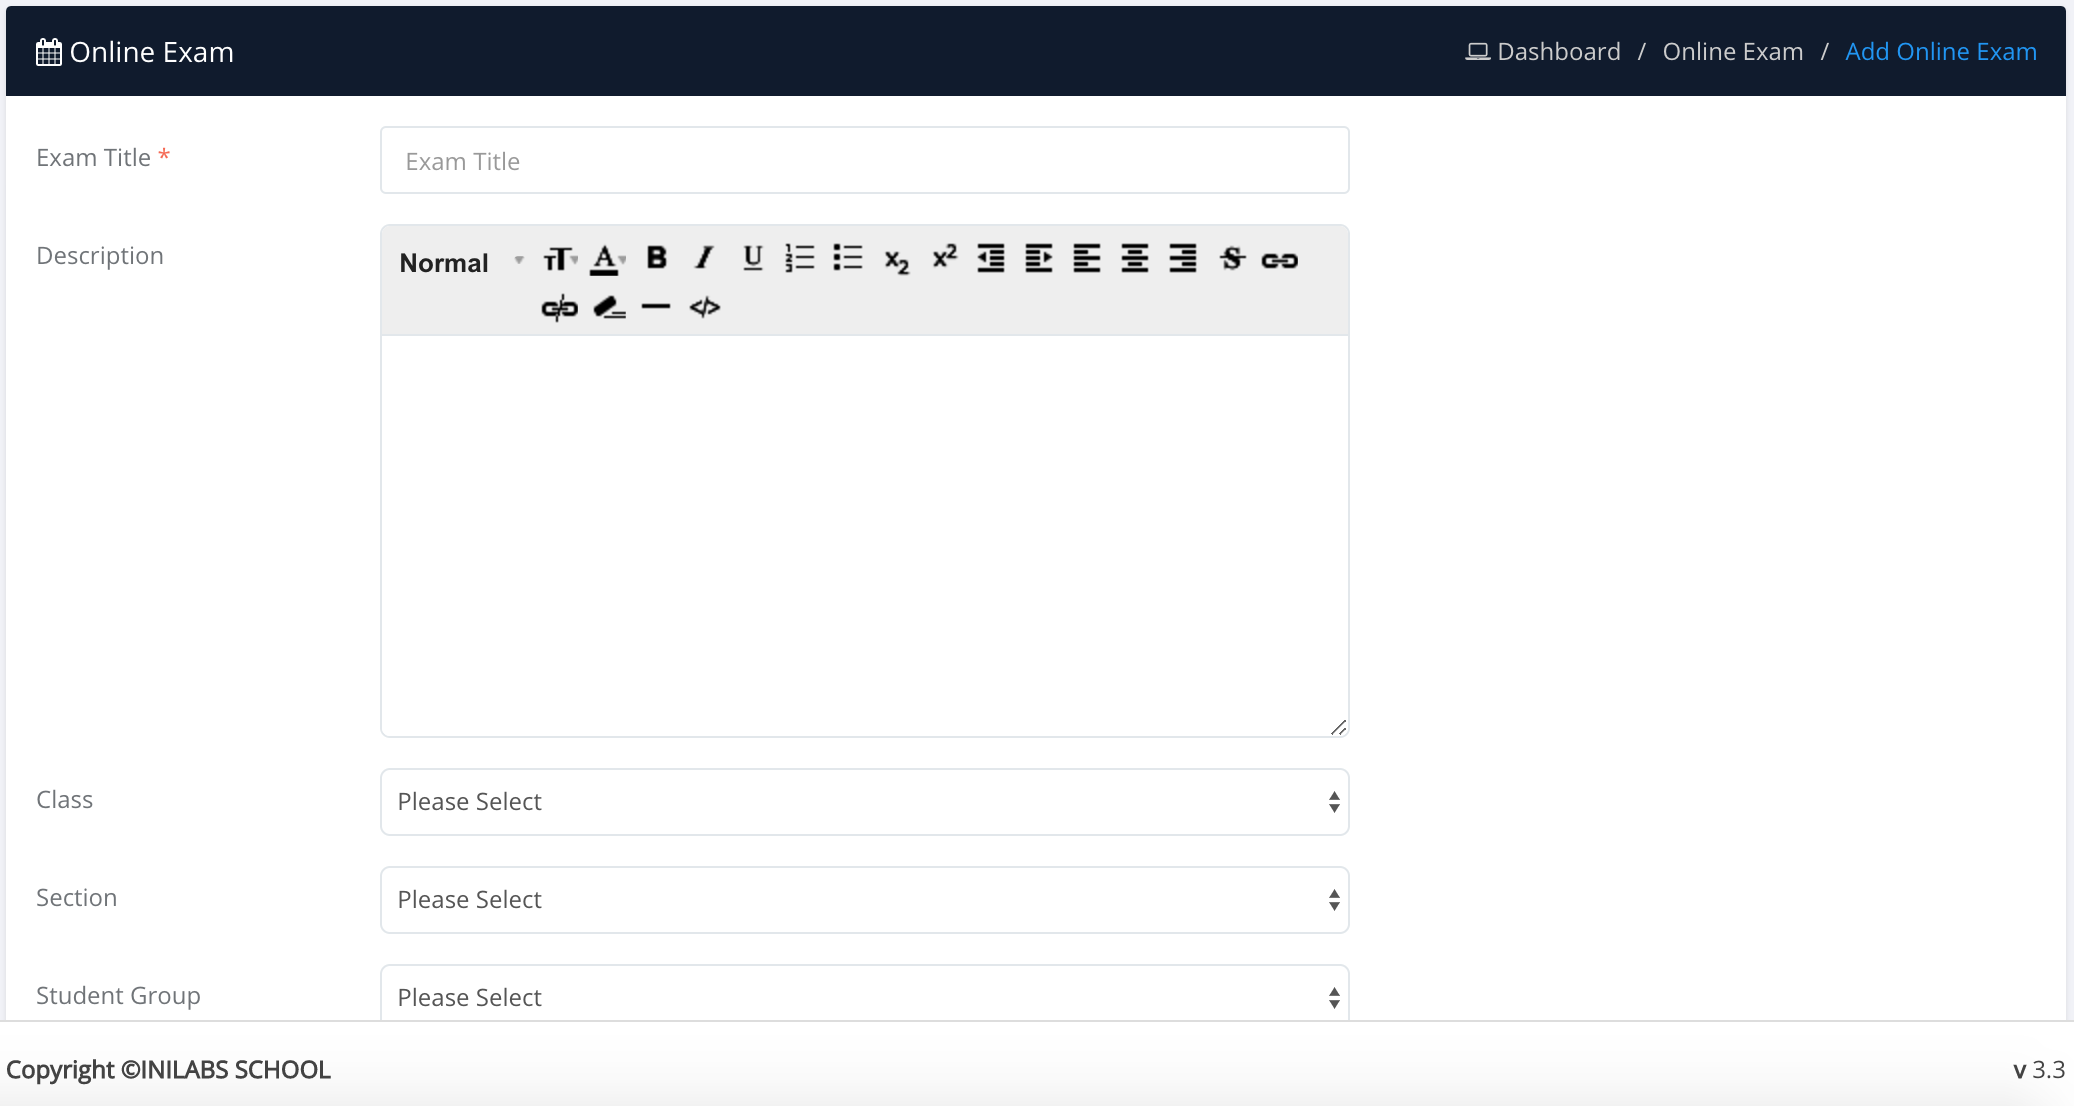
How to Create Online Exam?
Login as admin or teacher
Select Online Exam sub menu from Online exam menu
Then click add a online exam button and fill all fields and submit
How to Create Question Group?
Login as admin or teacher
Select Question group sub menu from Online exam menu
Then click add a Question  group button and fill all fields and submit
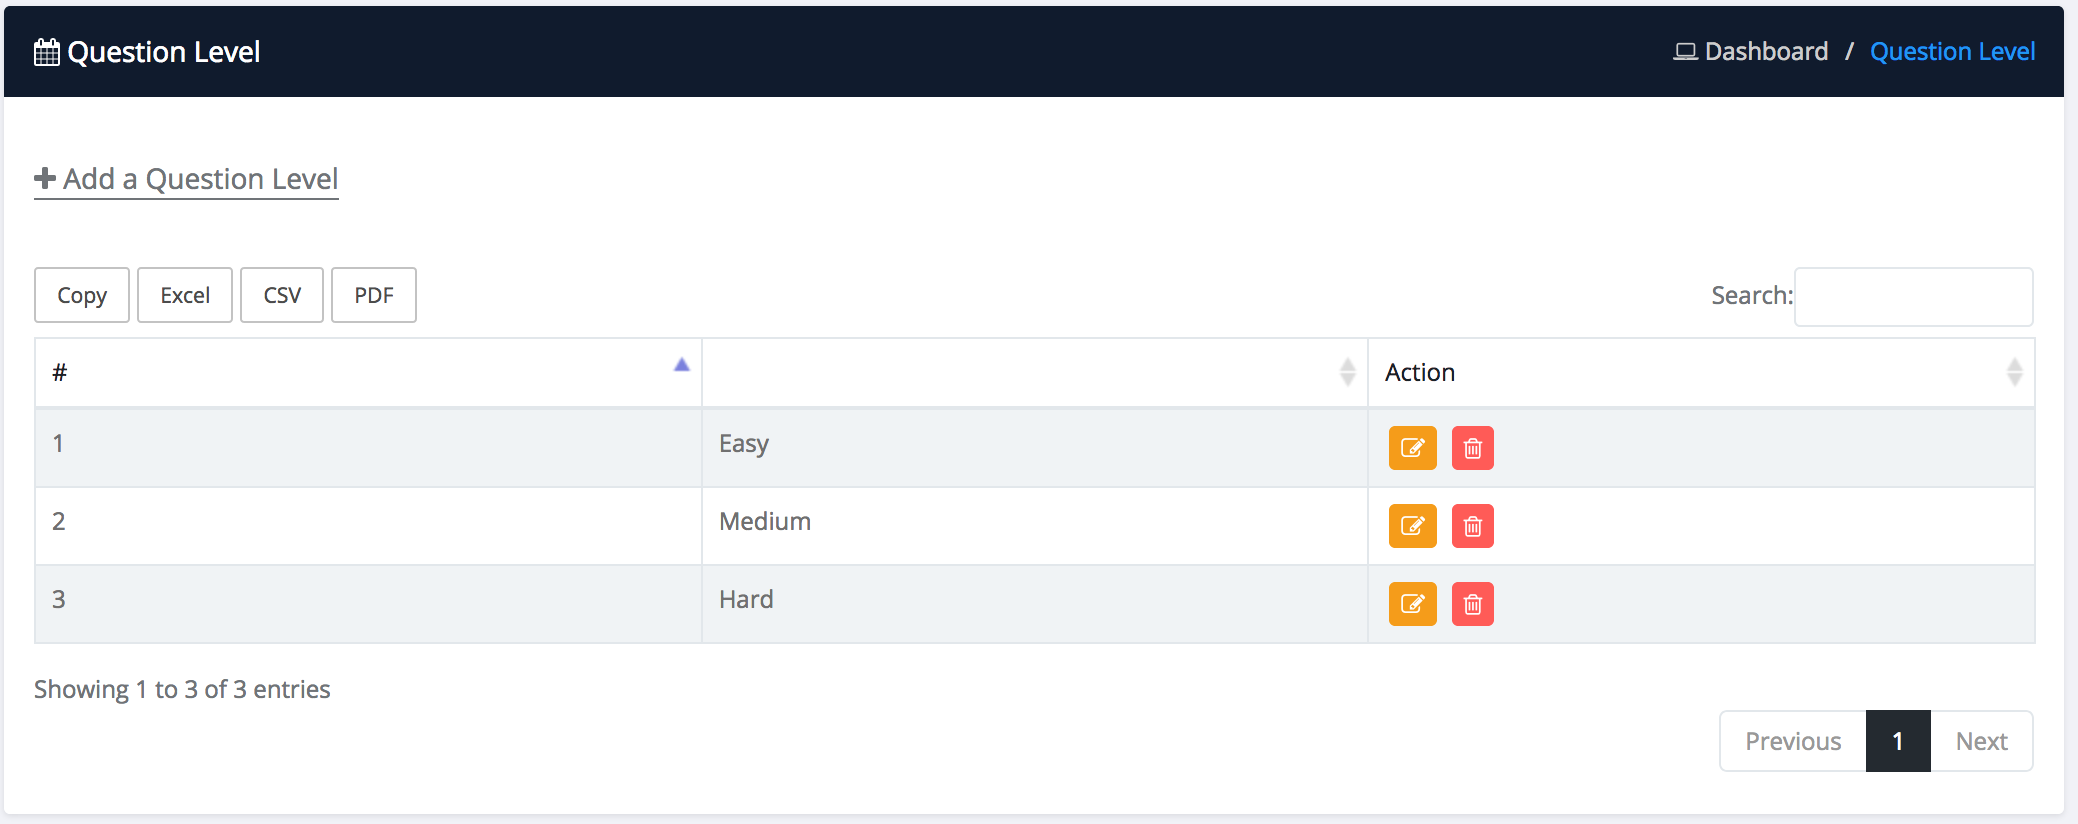
How to Create Question Level?
Login as admin or teacher
Select Question level sub menu from Online exam menu
Then click add a Question  level button and fill all fields and submit
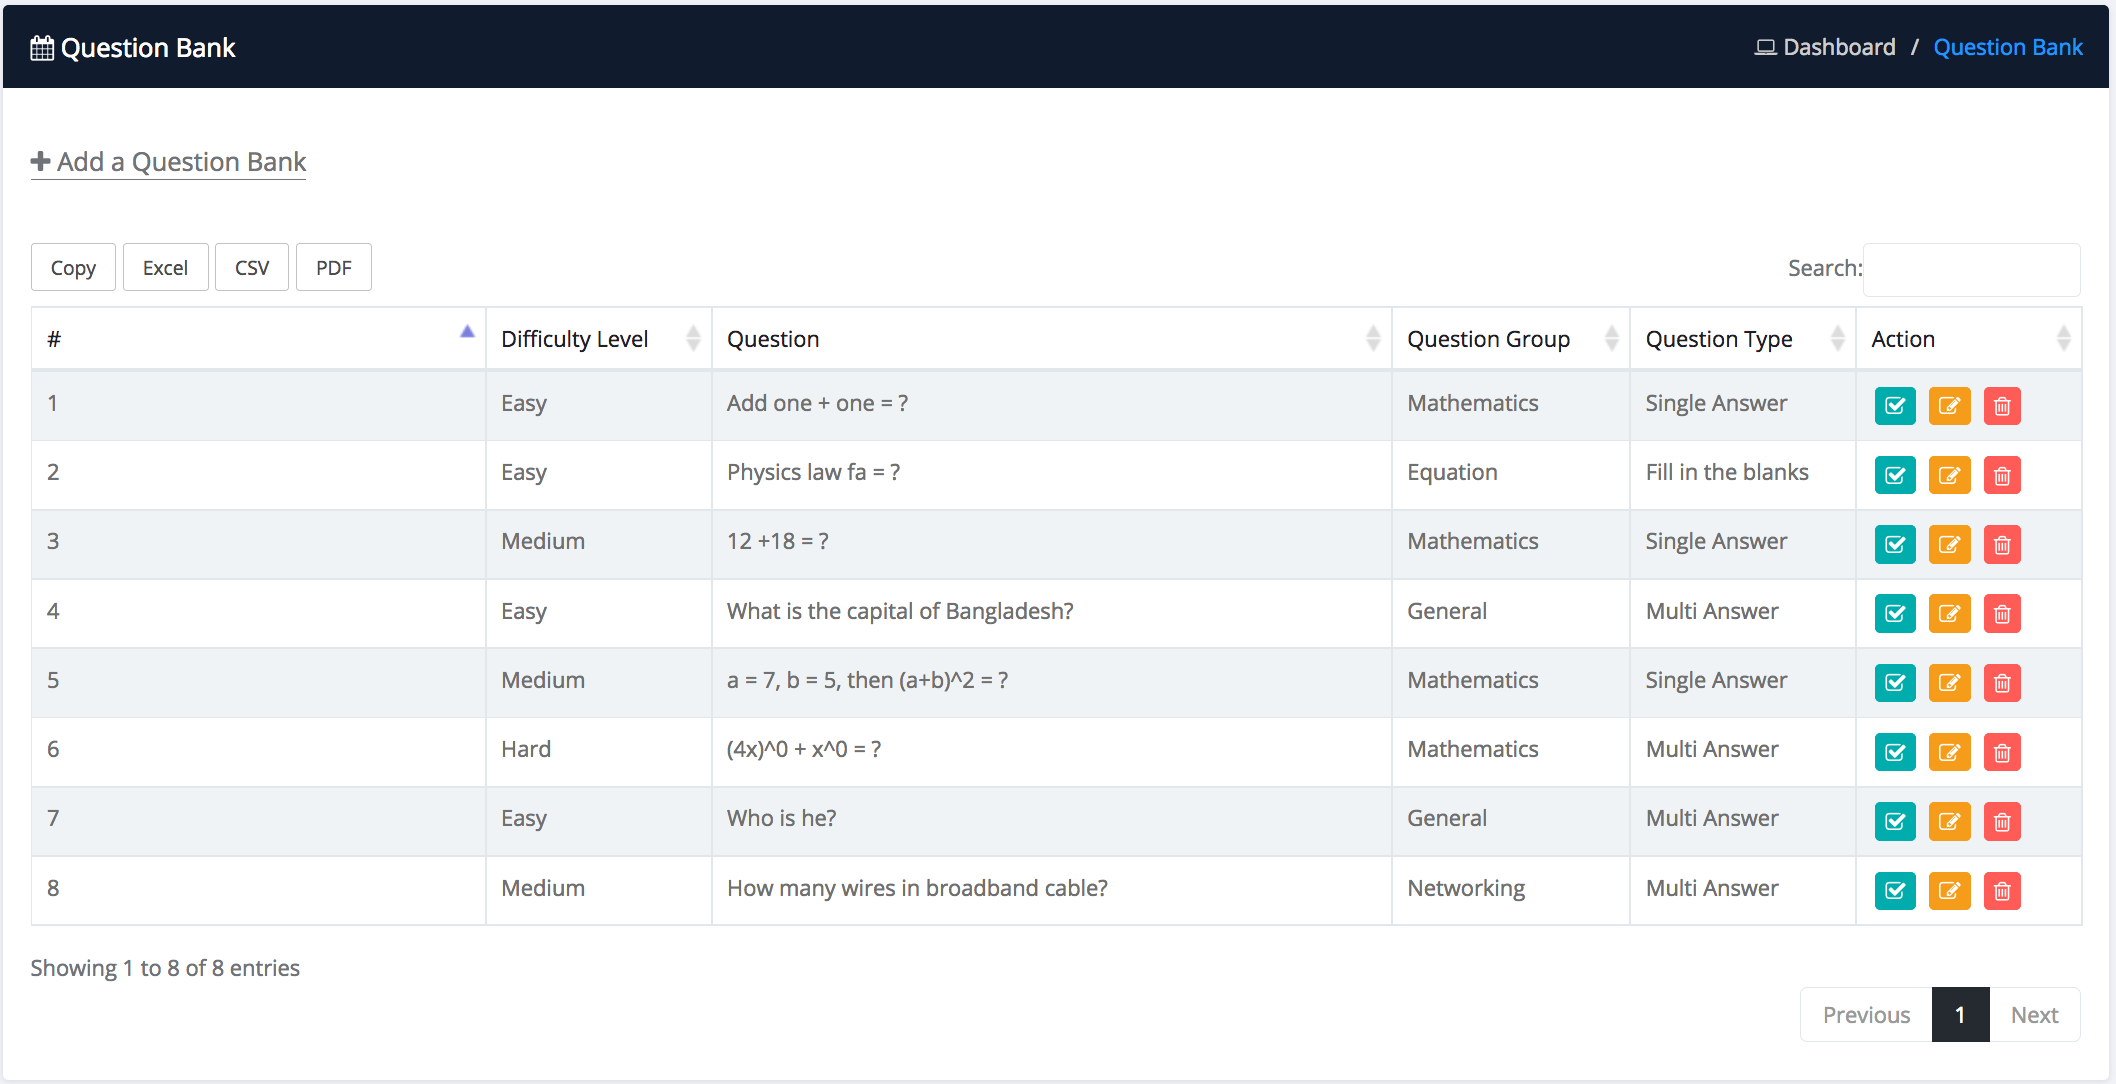
How to Create Question Bank?
Login as admin or teacher
Select Question Bank sub menu from Online exam menu
Then click add a Question bank button and fill all fields and submit
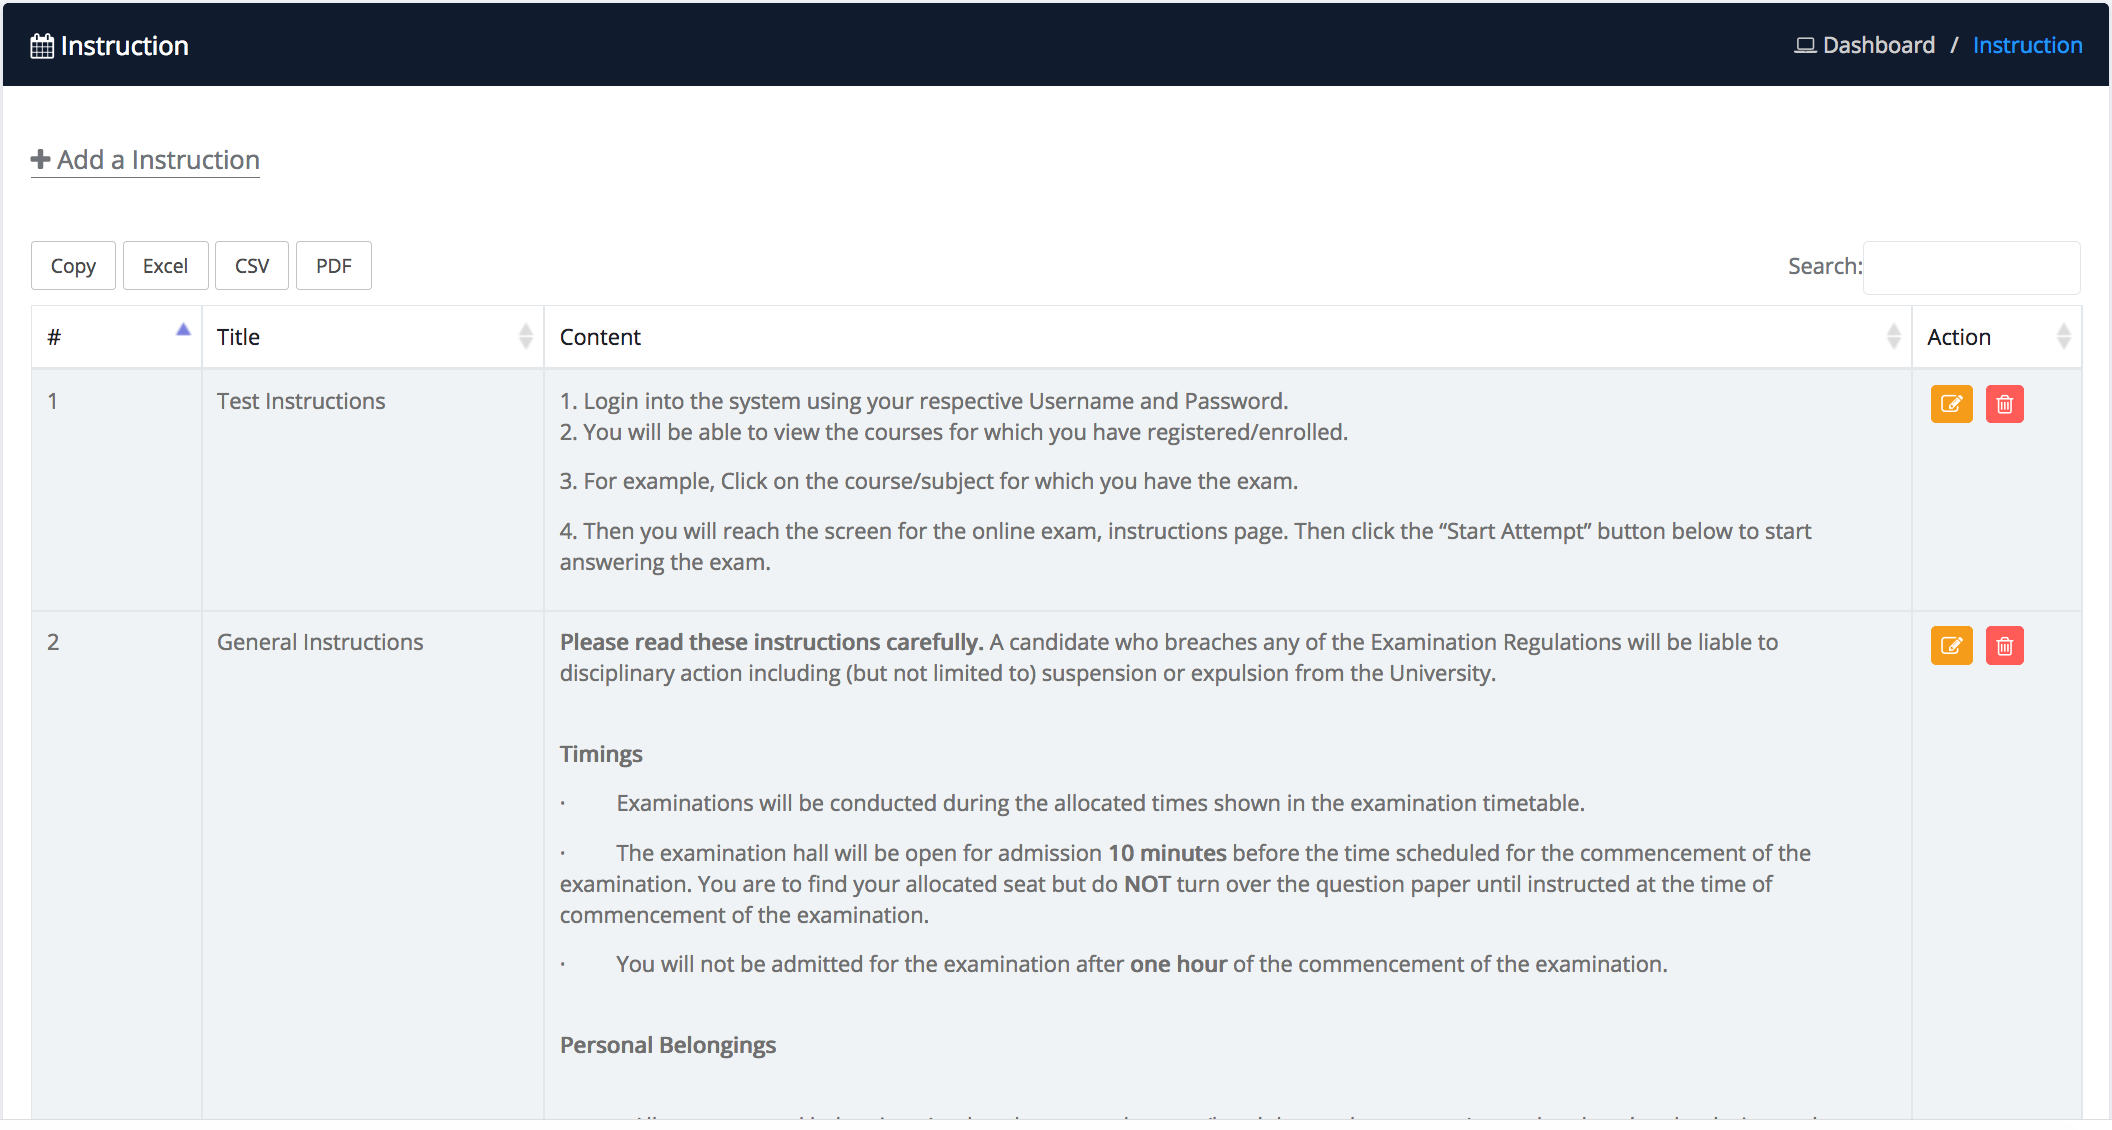
How to Create Instruction?
Login as admin or teacher
Select Instruction sub menu from Online exam menu
Then click add a Instruction button and fill all fields and submit
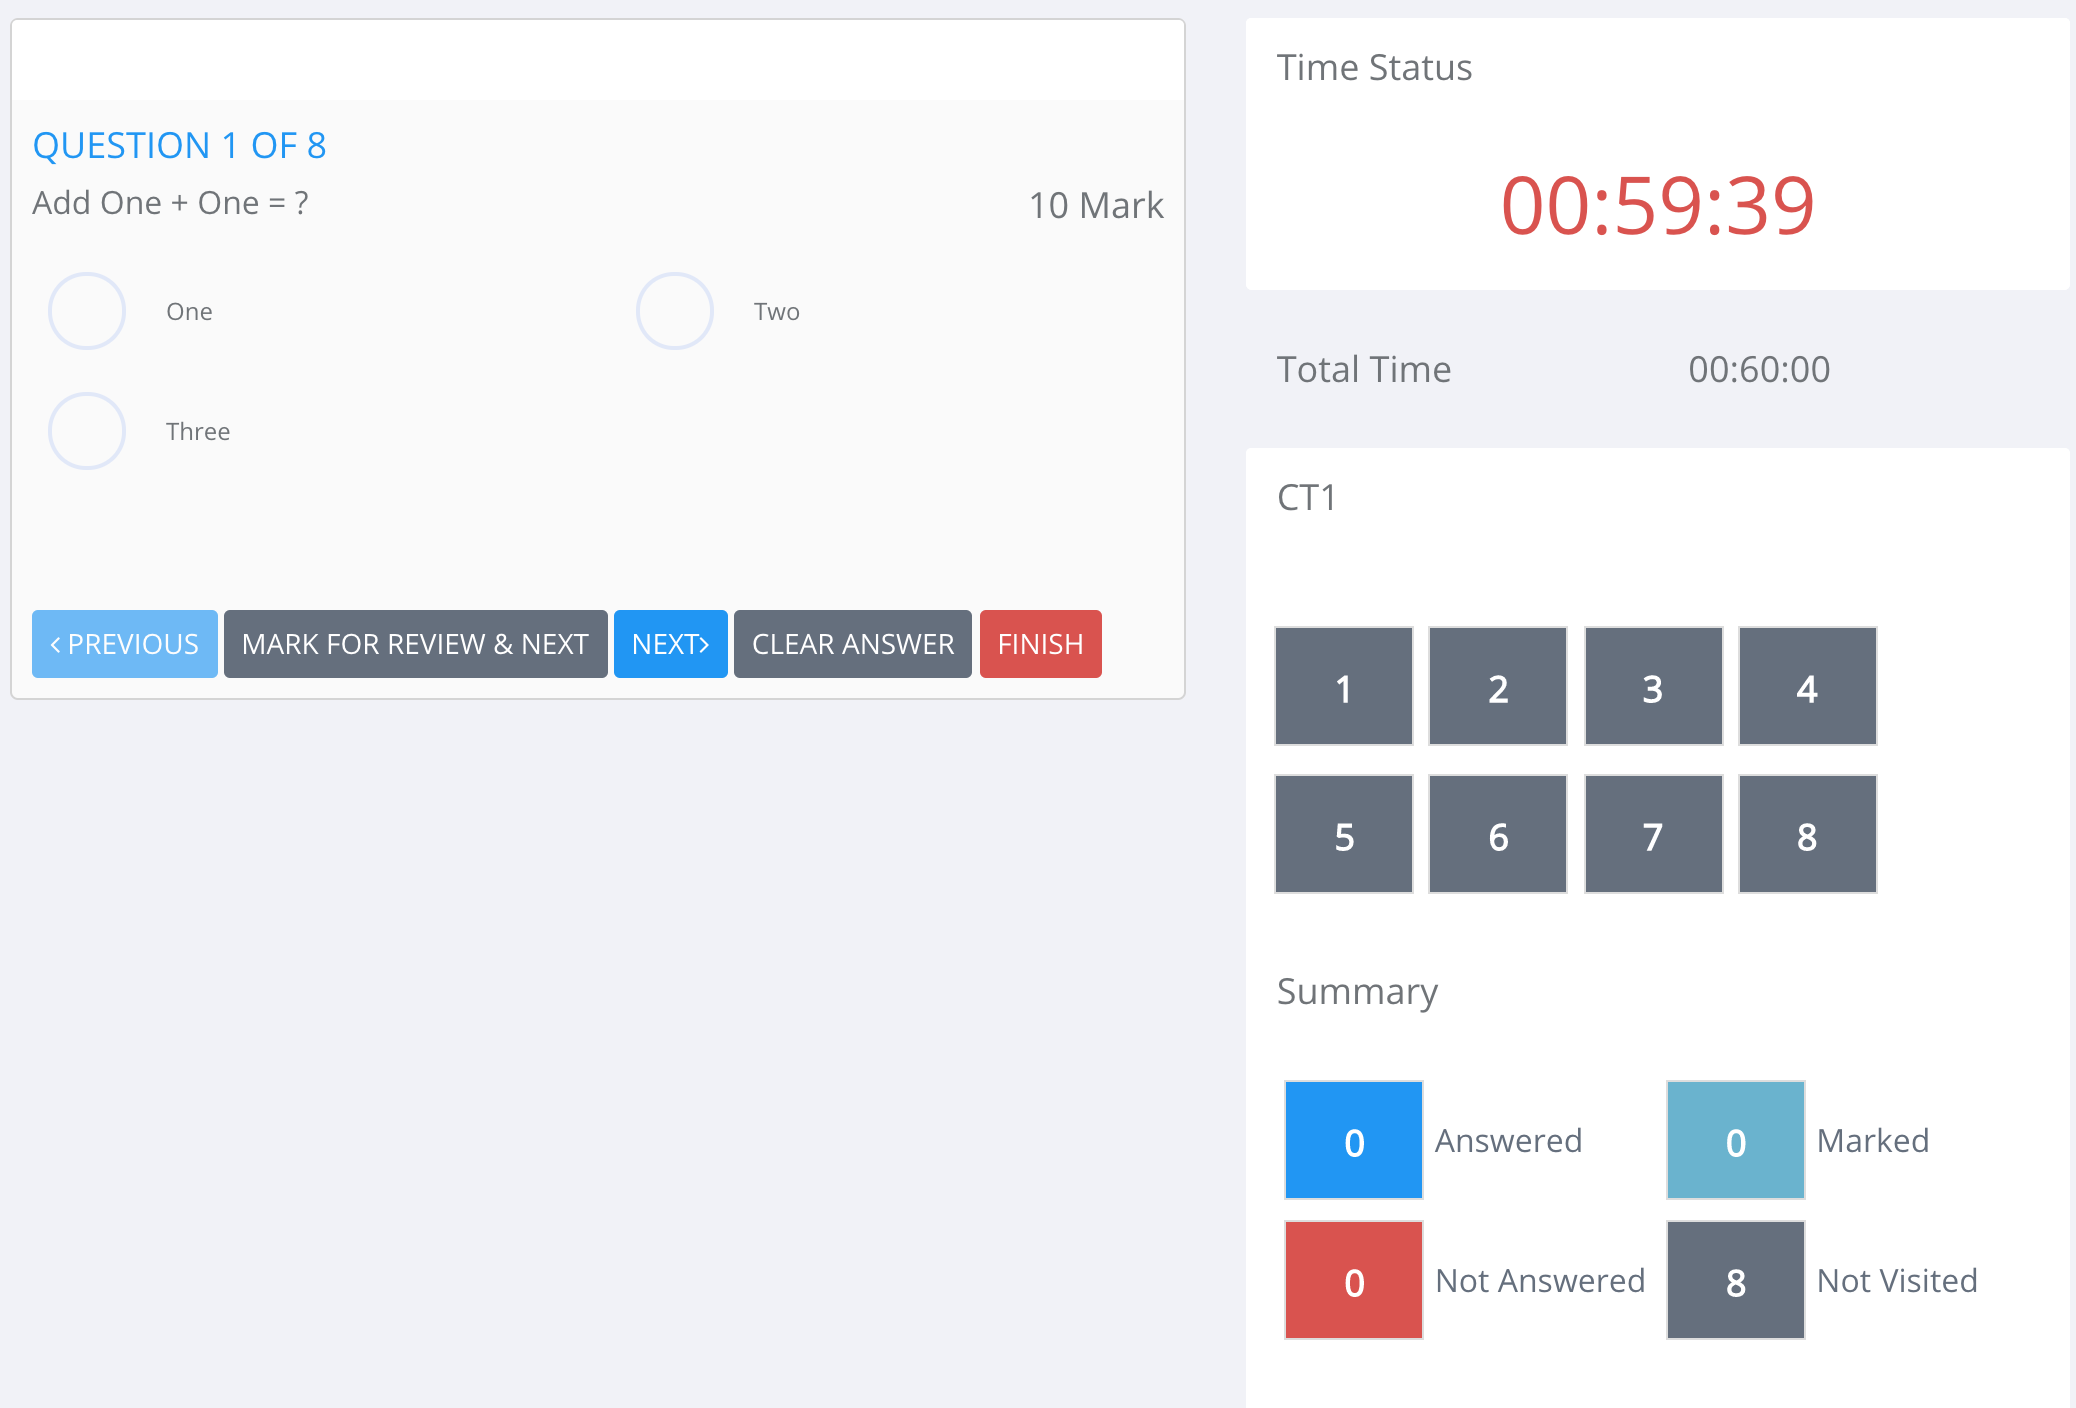
How to Take Exam ?
Login as student
Select take exam
Then click add a take exam button and flow the instructon
PayRoll Management
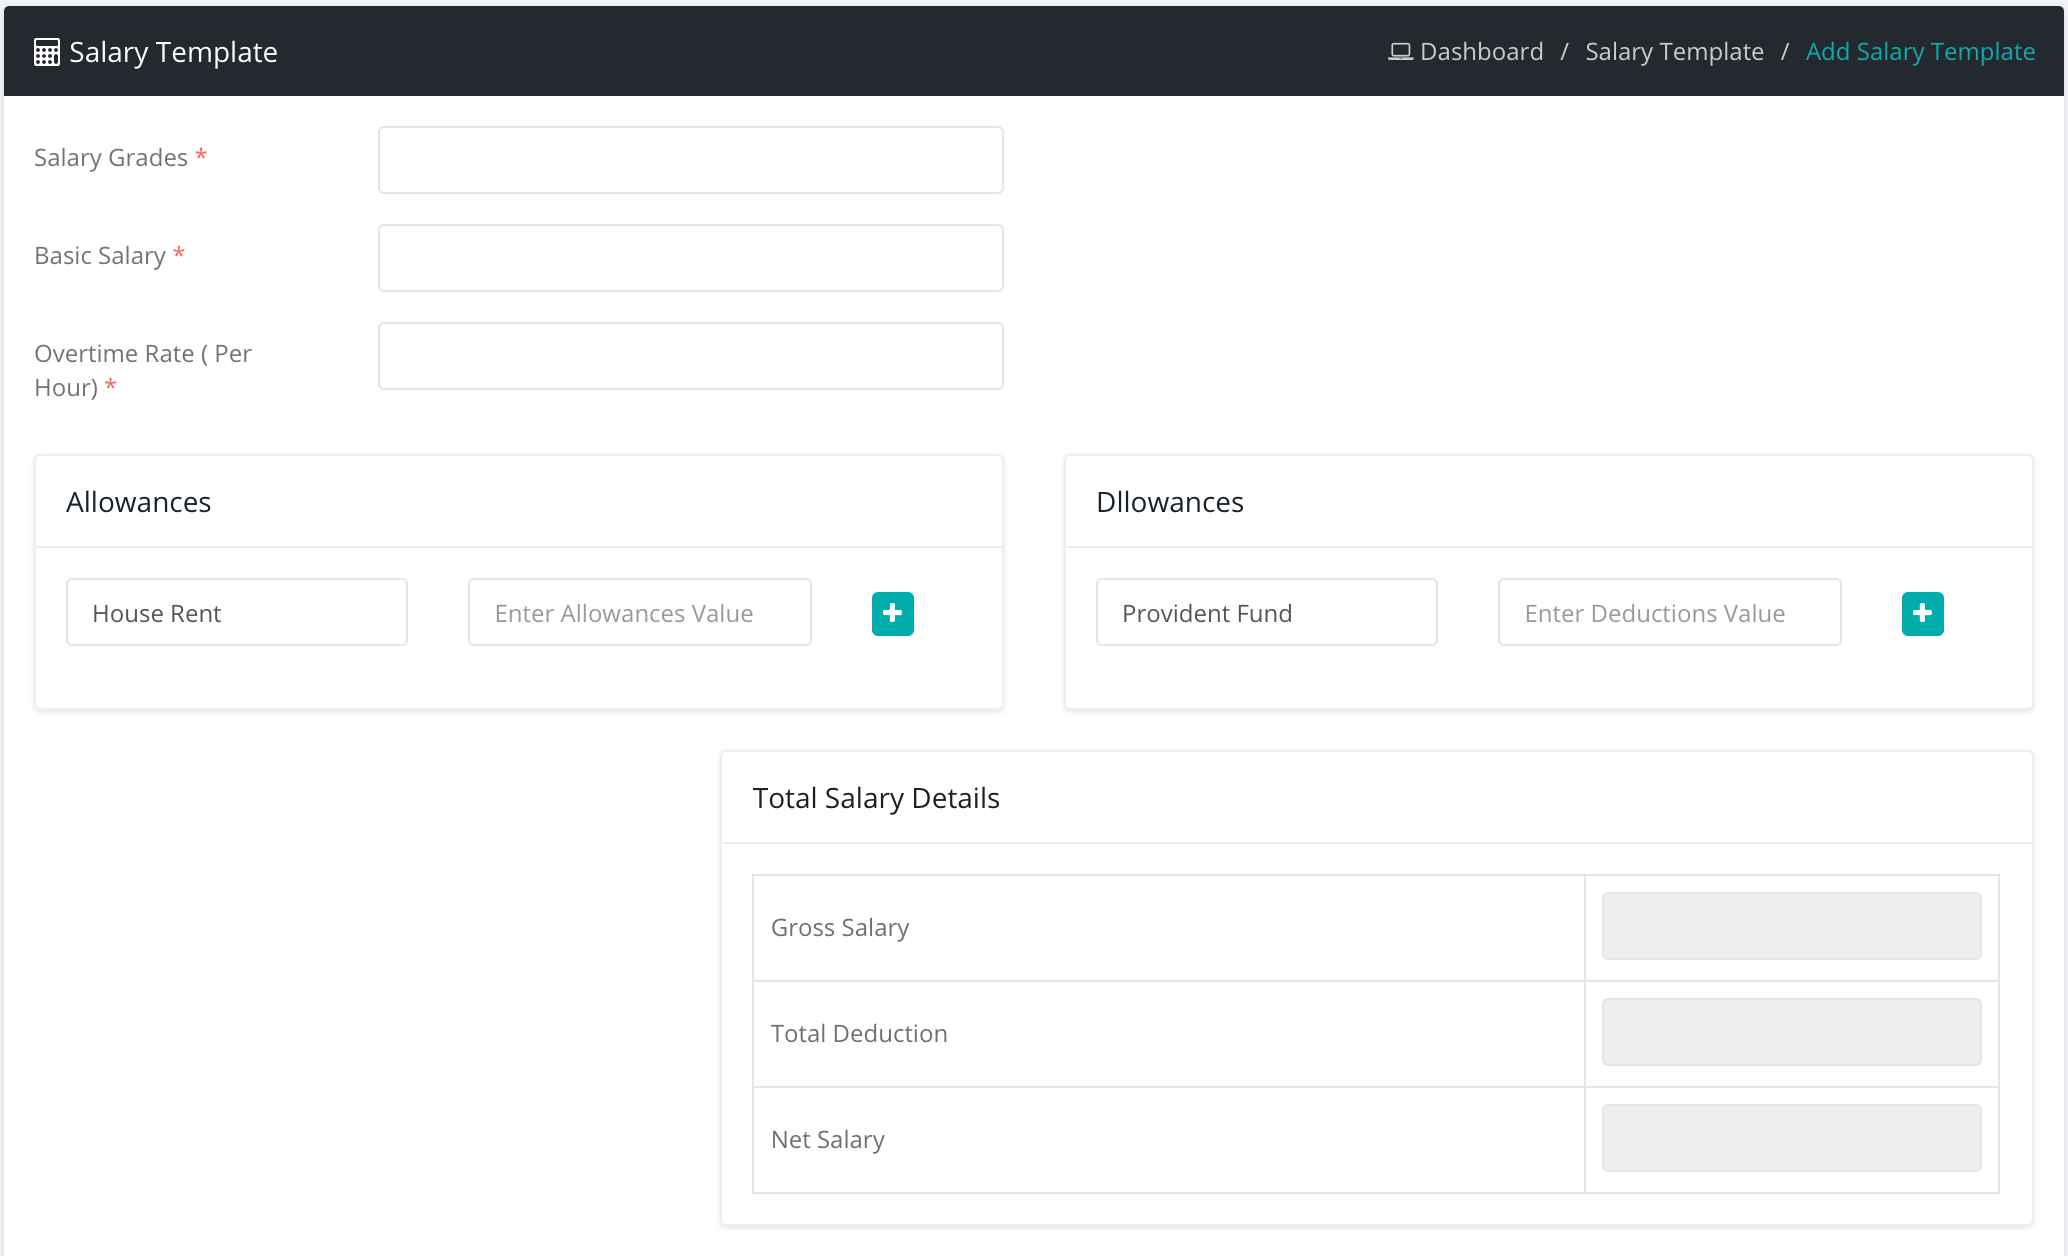
How to salary template?
Login as admin or accountant
Select salary template sub menu from PayRoll menu
Then click add a salary template button and fill all fields and submit
How to hourly template?
Login as admin or accountant
Select hourly template sub menu from PayRoll menu
Then click add hourly template button and fill all fields and submit
How to manage salary?
Login as admin or accountant
Select manage salary sub menu from PayRoll menu
Then select user role to see salary
How to make payment?
Login as admin or accountant
Select make payment sub menu from PayRoll menu
Then click on make payment button
Asset assignment Management
How to manage asset assignment?
Login as admin or accountant
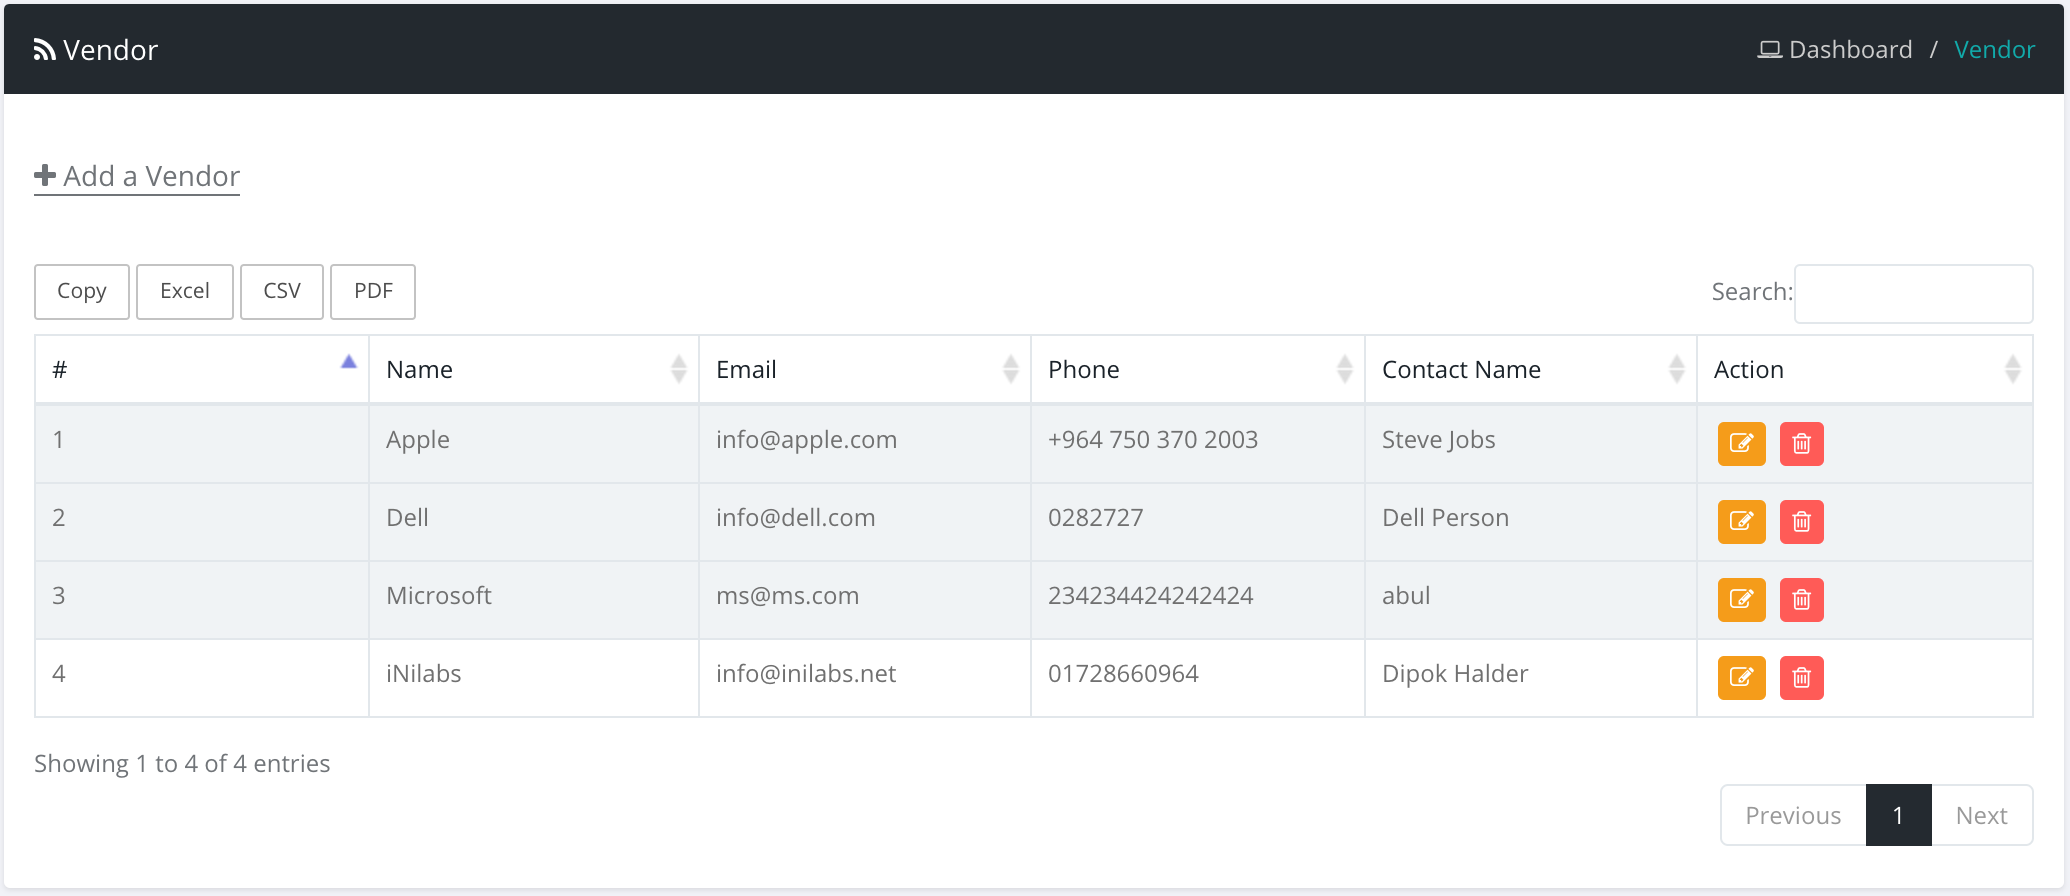
Select vendors sub menu from asset assignment menu
Then click add a vendor button and fill all fields and submit
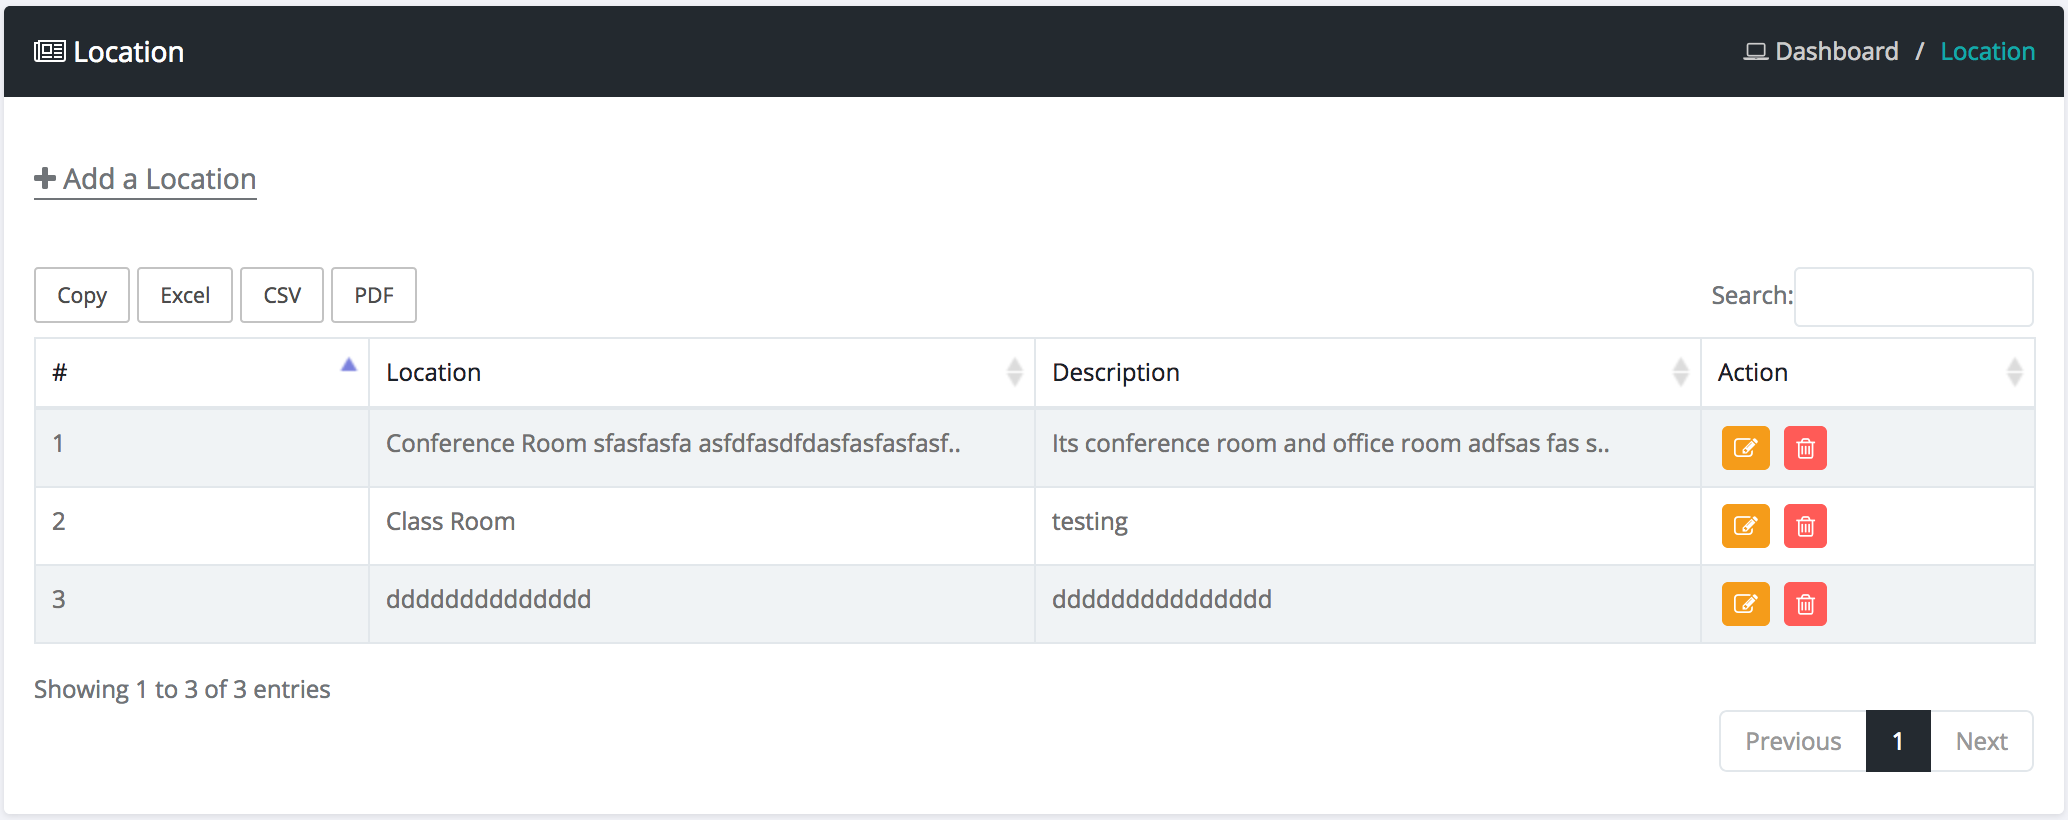
Select location sub menu from asset assignment menu
Then click add a location button and fill all fields and submit
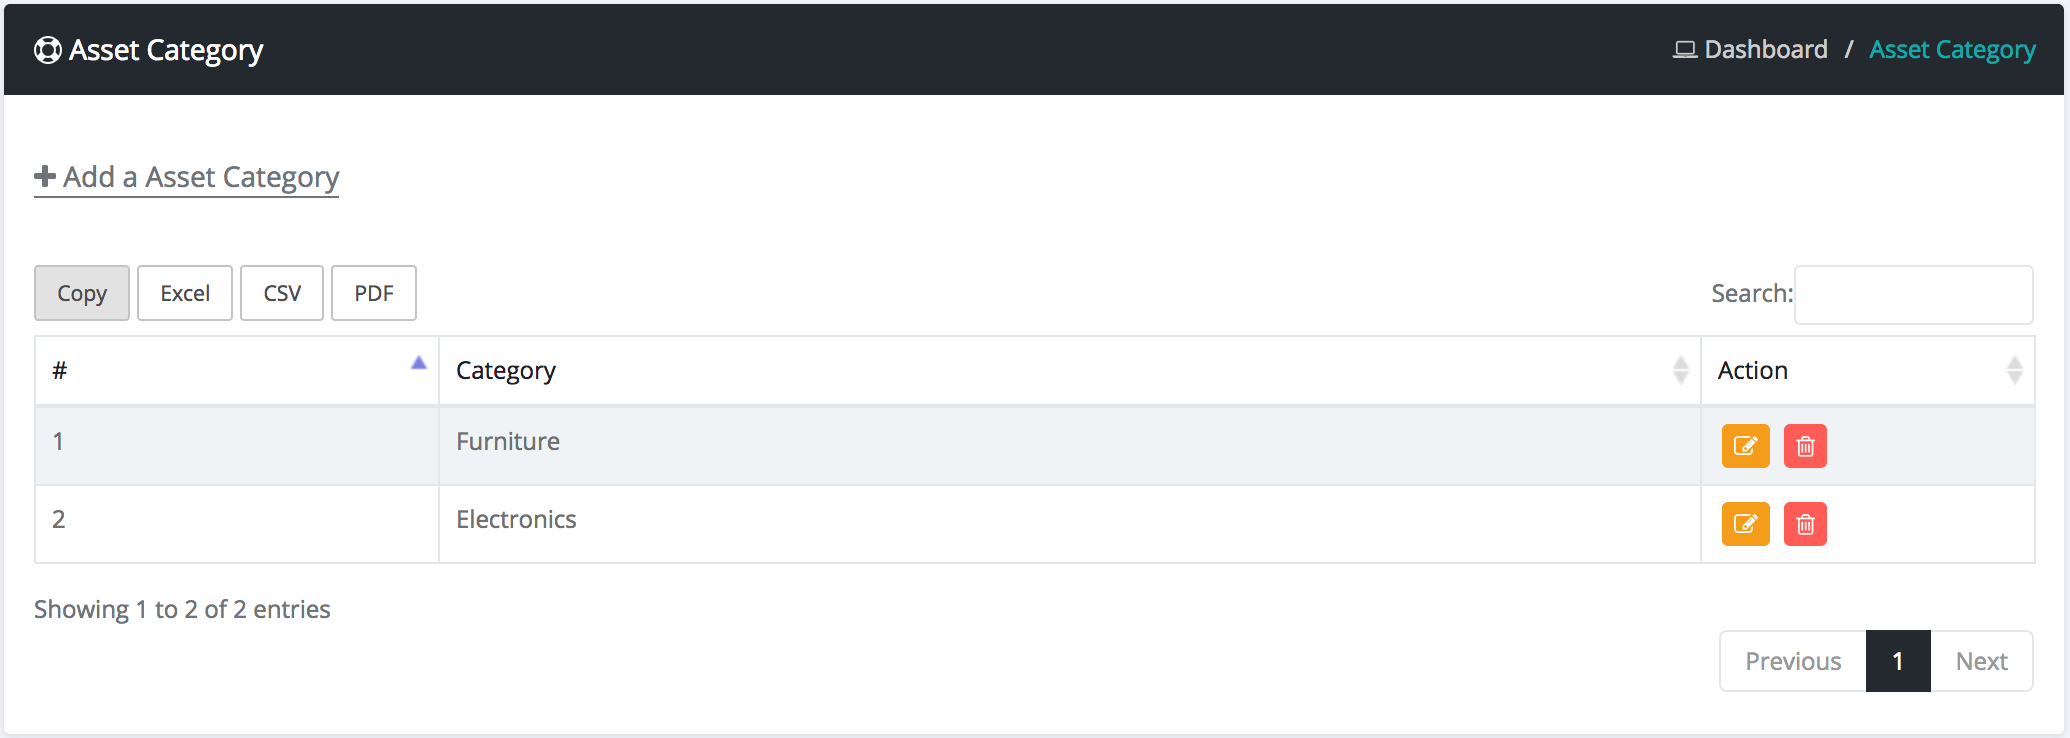
Select asset category sub menu from asset assignment menu
Then click add a asset category button and fill all fields and submit
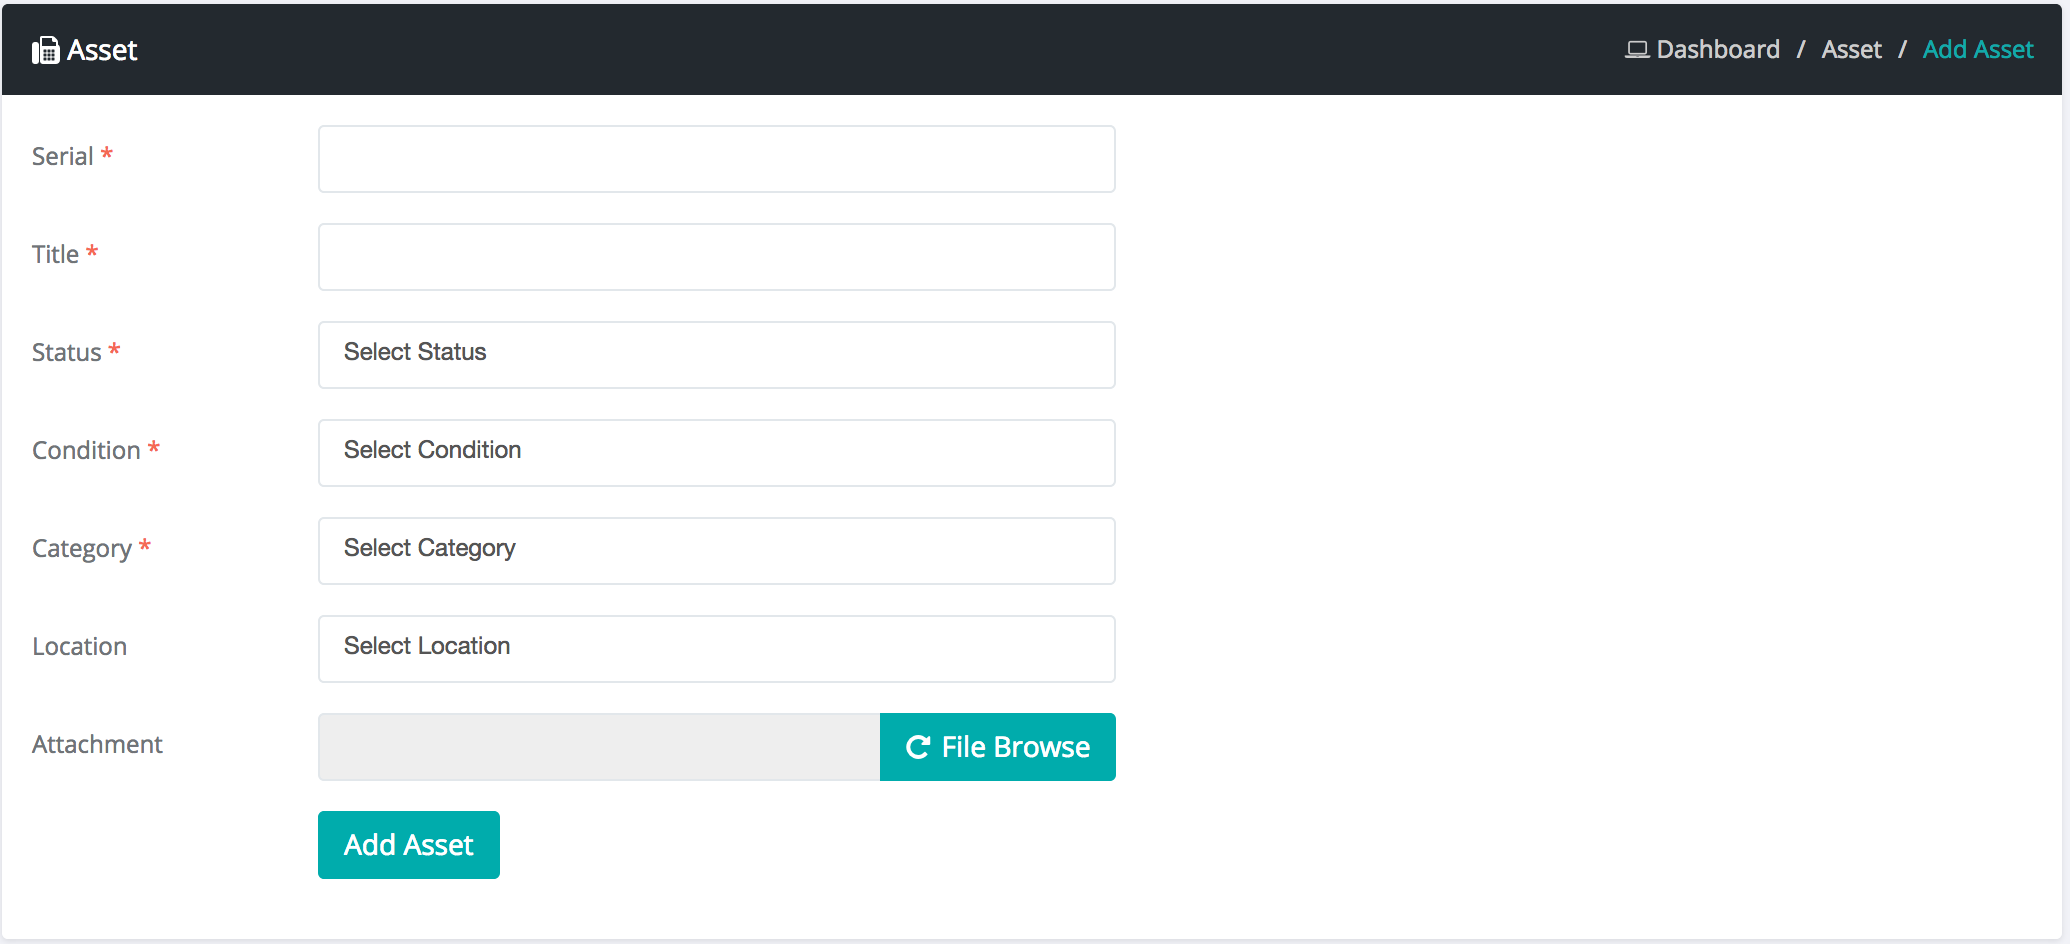
Select asset sub menu from asset assignment menu
Then click add a asset button and fill all fields and submit
Select purchase sub menu from asset assignment menu
Then click add a purchase button and fill all fields and submit
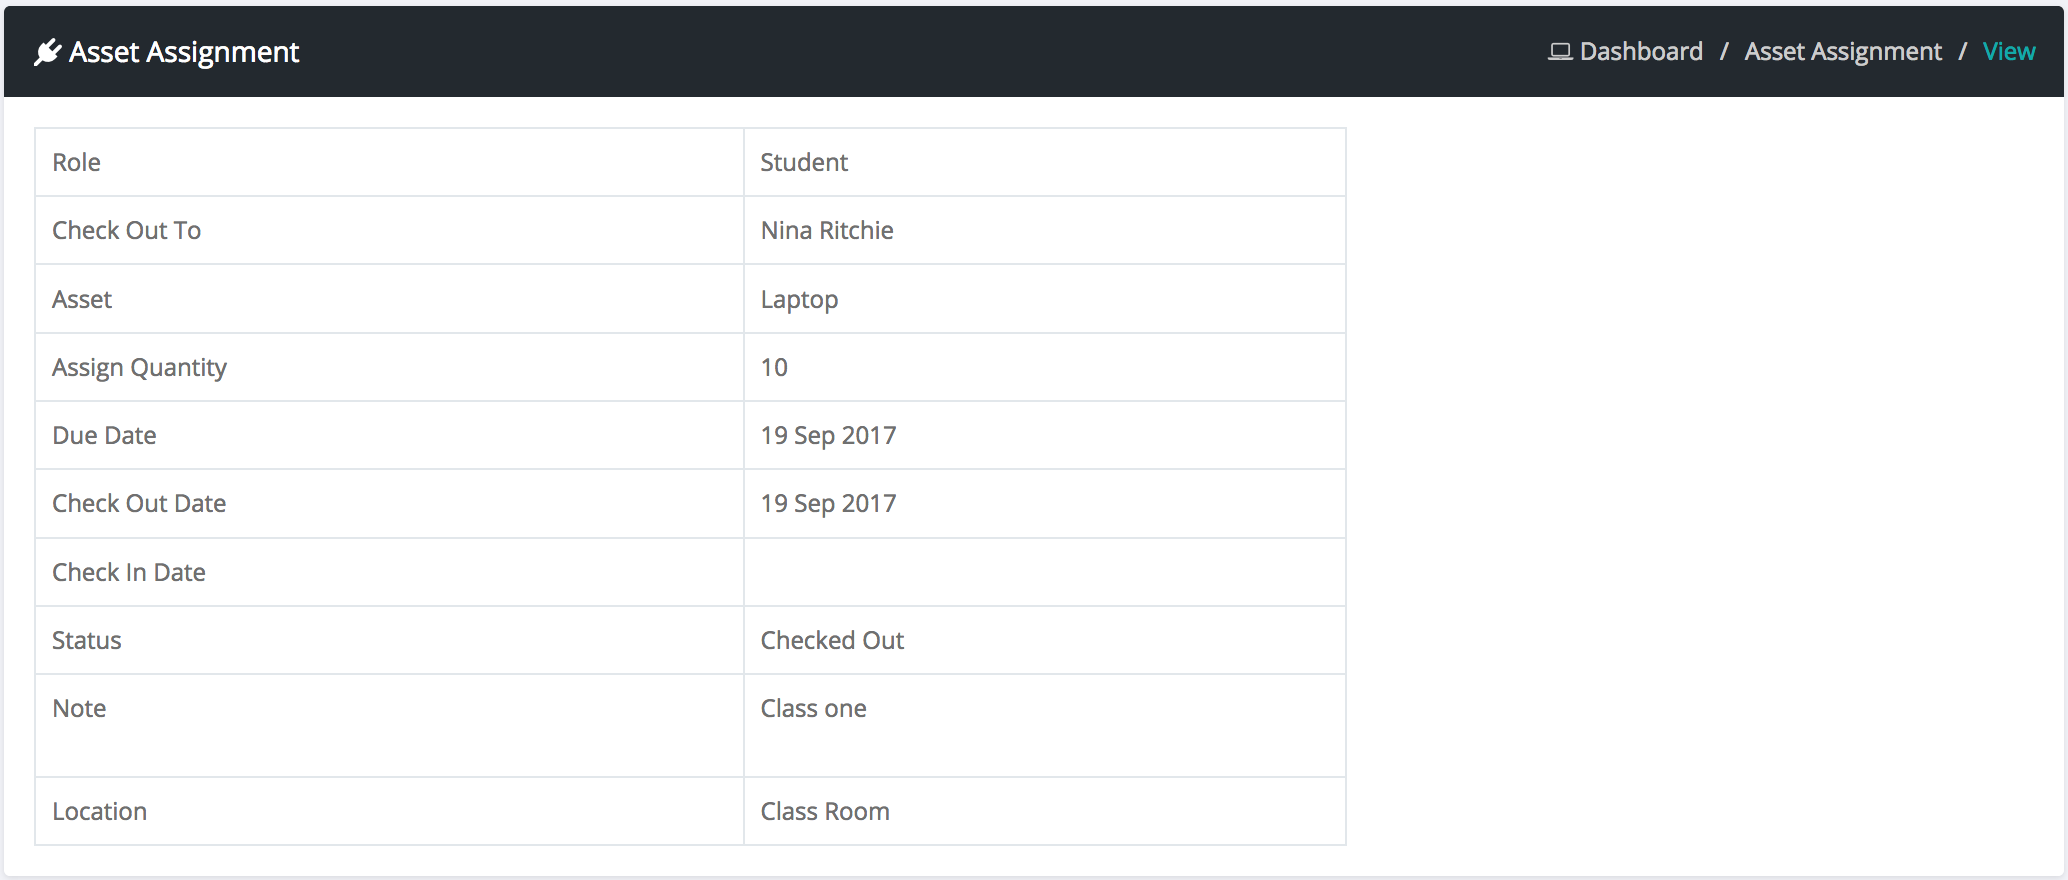
Select asset assignment sub menu from asset assignment menu
Then click add a asset assignment button and fill all fields and submit
Inventory Management
How to manage inventory ?
Login as admin or accountant
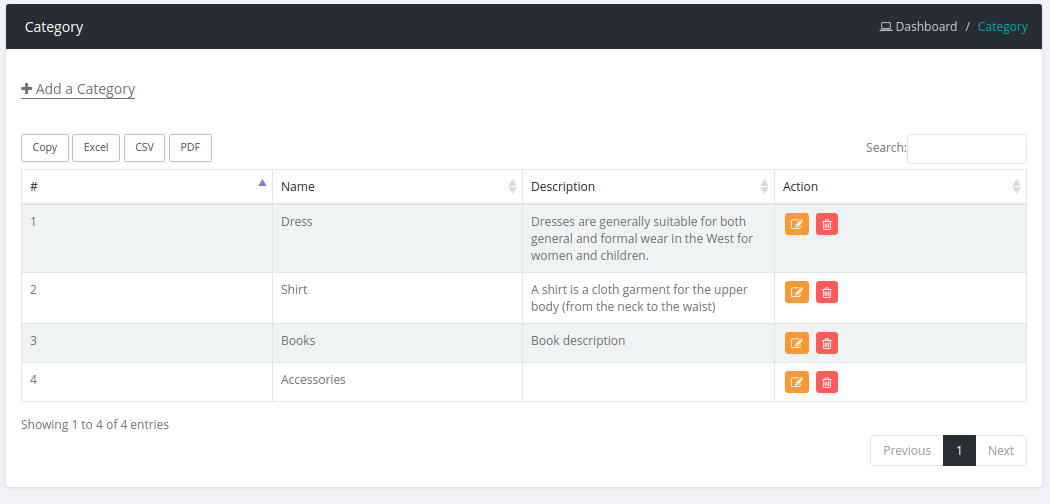
Select product category sub menu from inventory menu
Then click add a product category button and fill all fields and submit
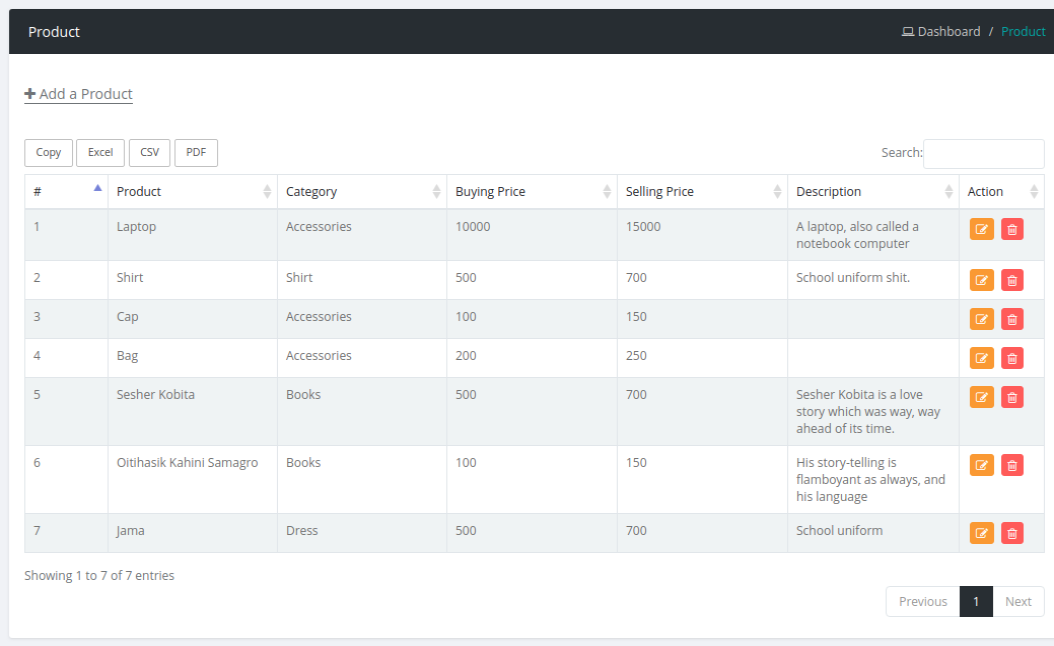
Select product sub menu from inventory menu
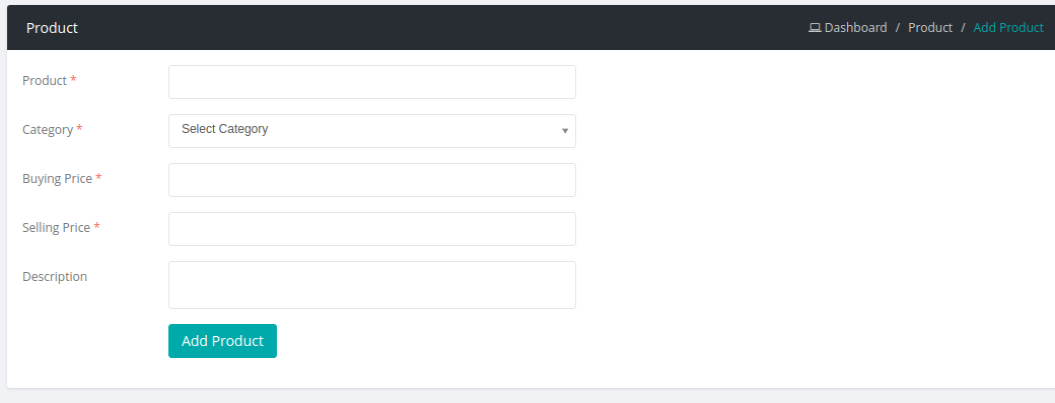
Then click add a product button and fill all fields and submit
Select warehouse sub menu from asset inventory menu
Then click add a warehouse button and fill all fields and submit
Select supplier sub menu from inventory menu
Then click add a supplier button and fill all fields and submit
Select purchase sub menu from inventory menu
Then click add a purchase button and fill all fields and submit
Select sale sub menu from inventory menu
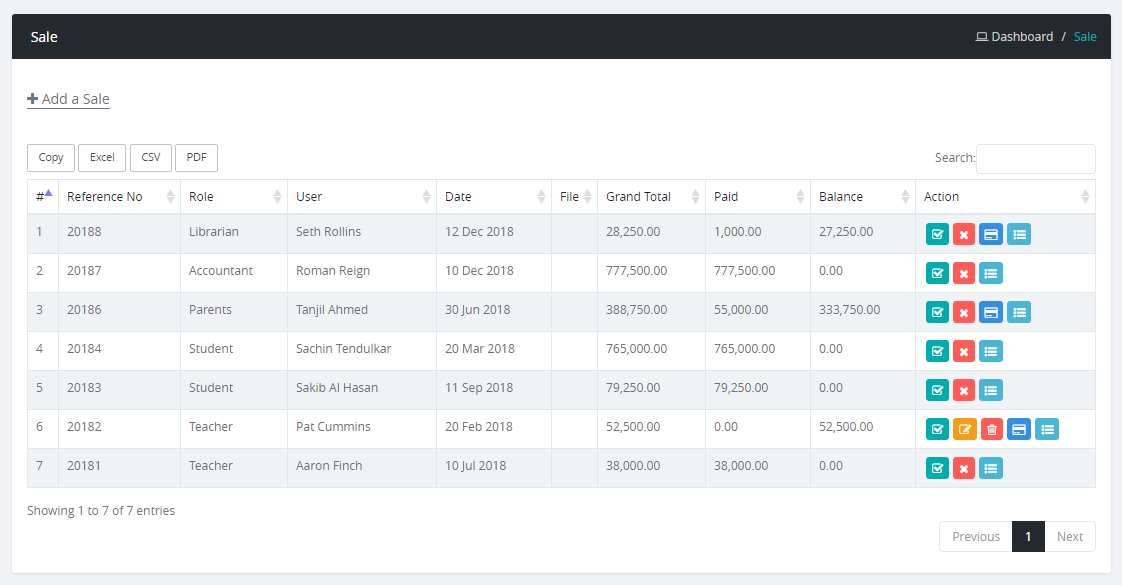
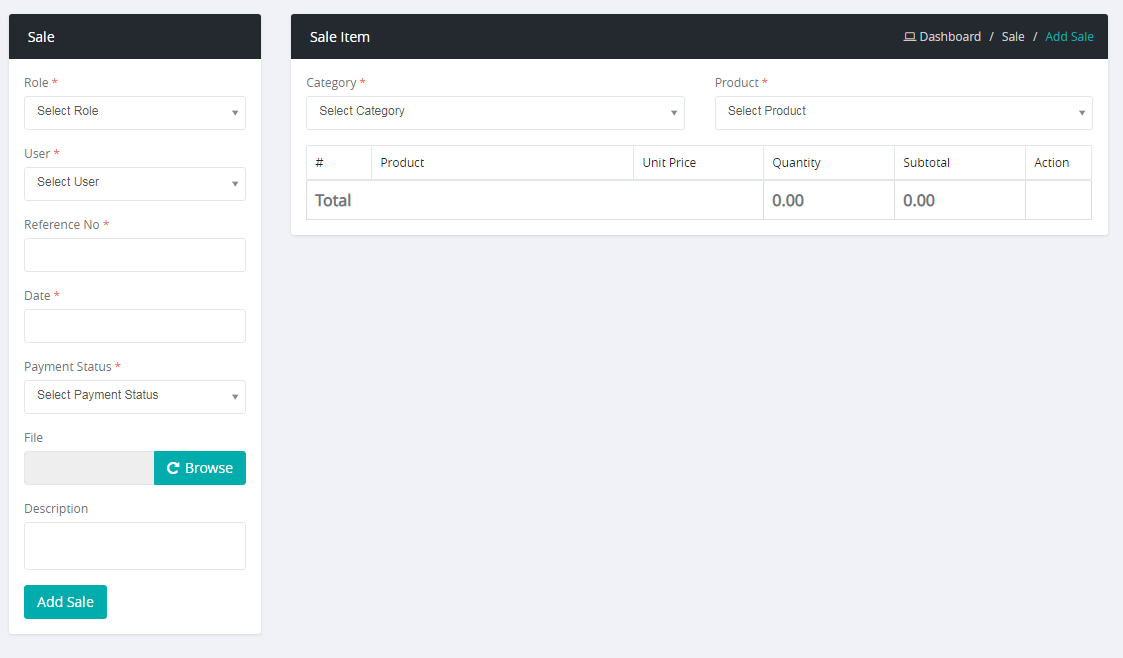
Then click add a sale button and fill all fields and submit
Leave Management
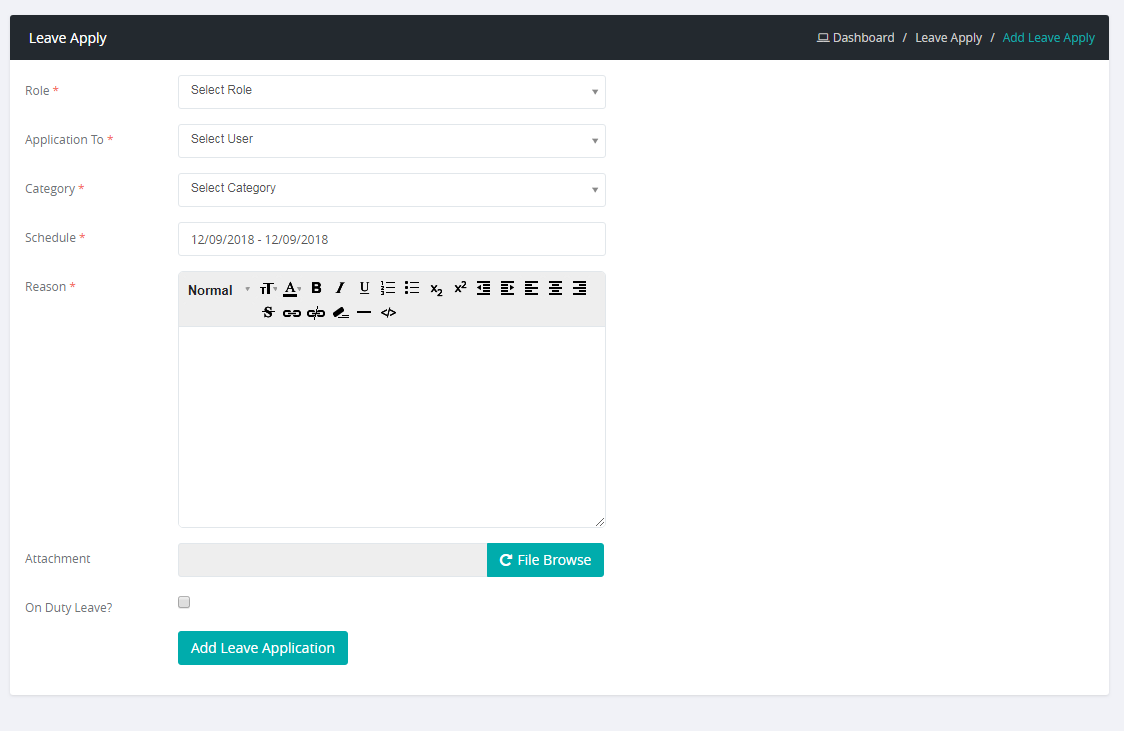
How to manage leave application ?
Login as admin or accountant
Select leave apply sub menu from leave application menu
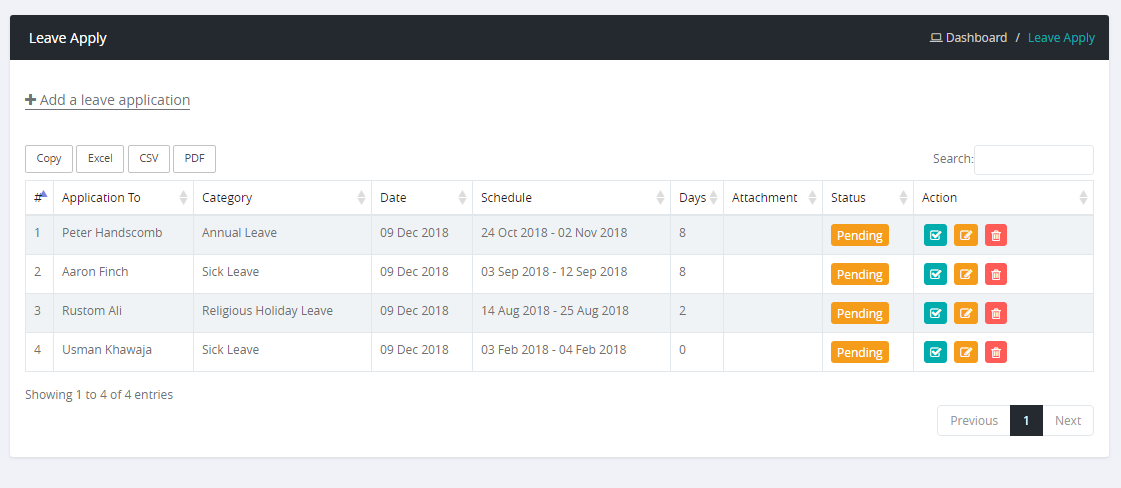
Then click add a leave apply button and fill all fields and submit
Select leave application sub menu from leave application menu
Then aprove leave application
Certificate
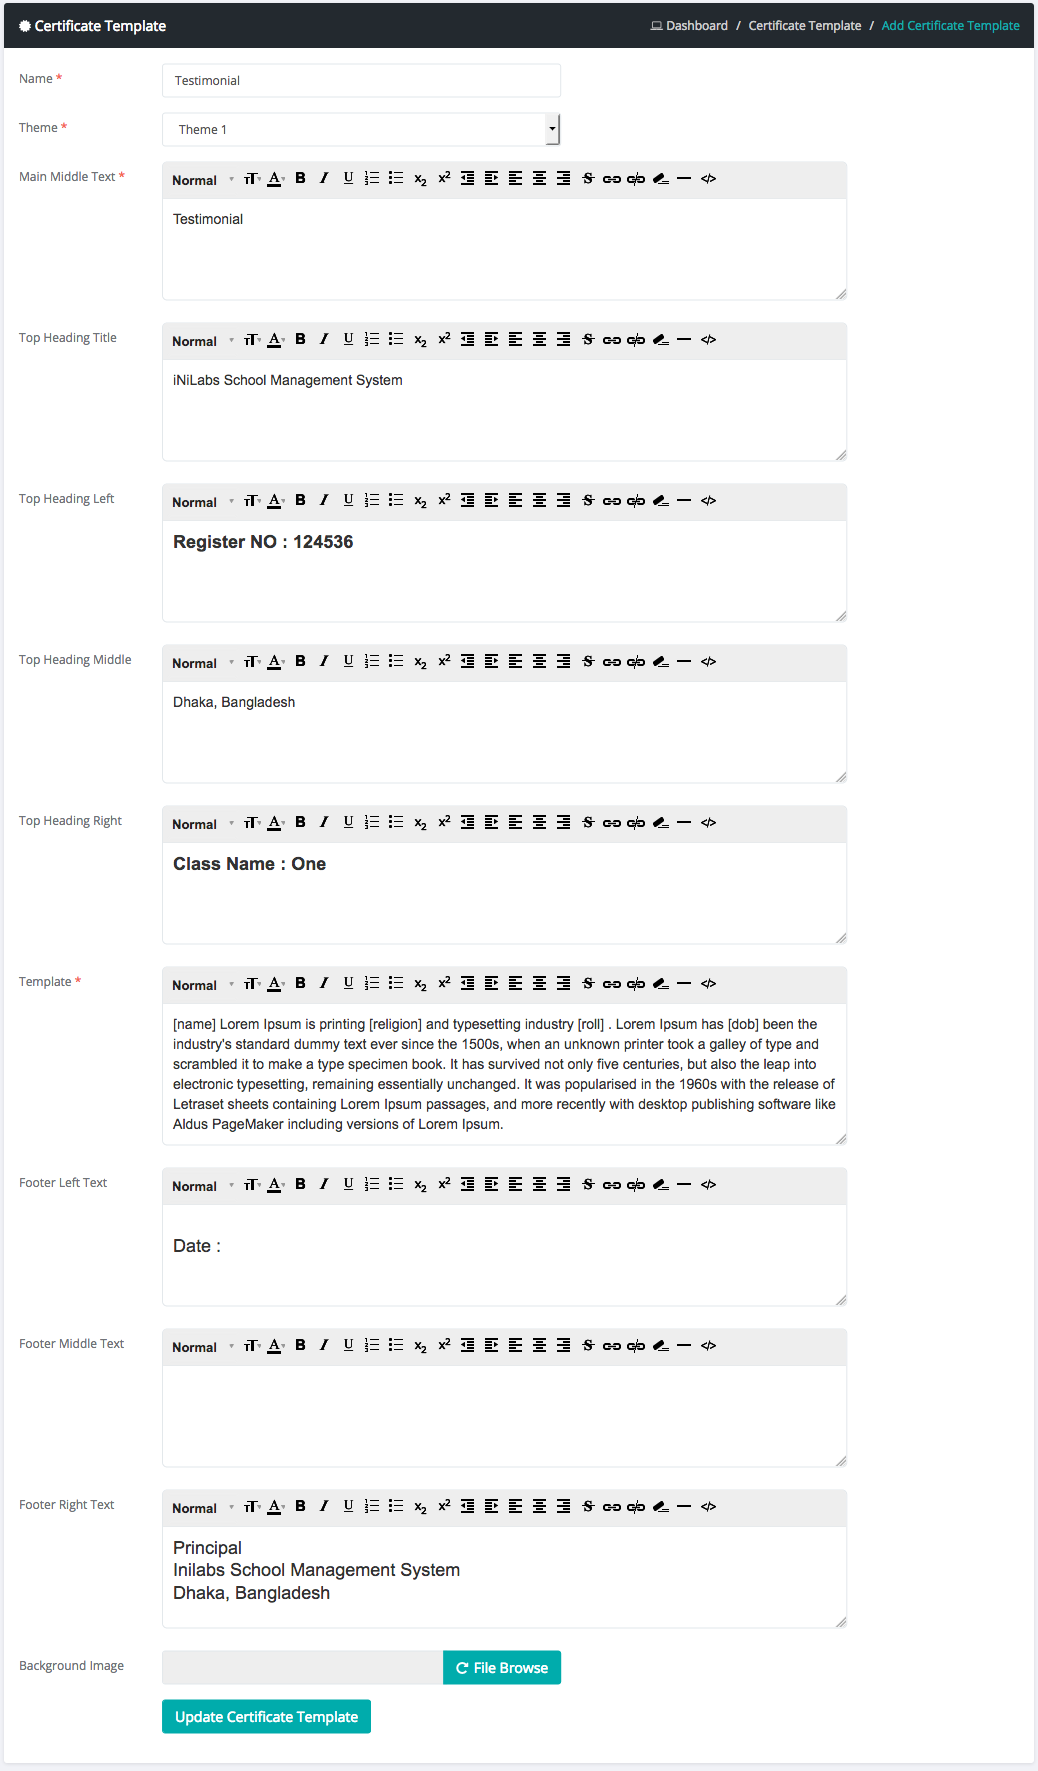
How to generate student certificate?
Login as admin
Select certificate template sub menu from administrator menu
Fill all fields as you want then save
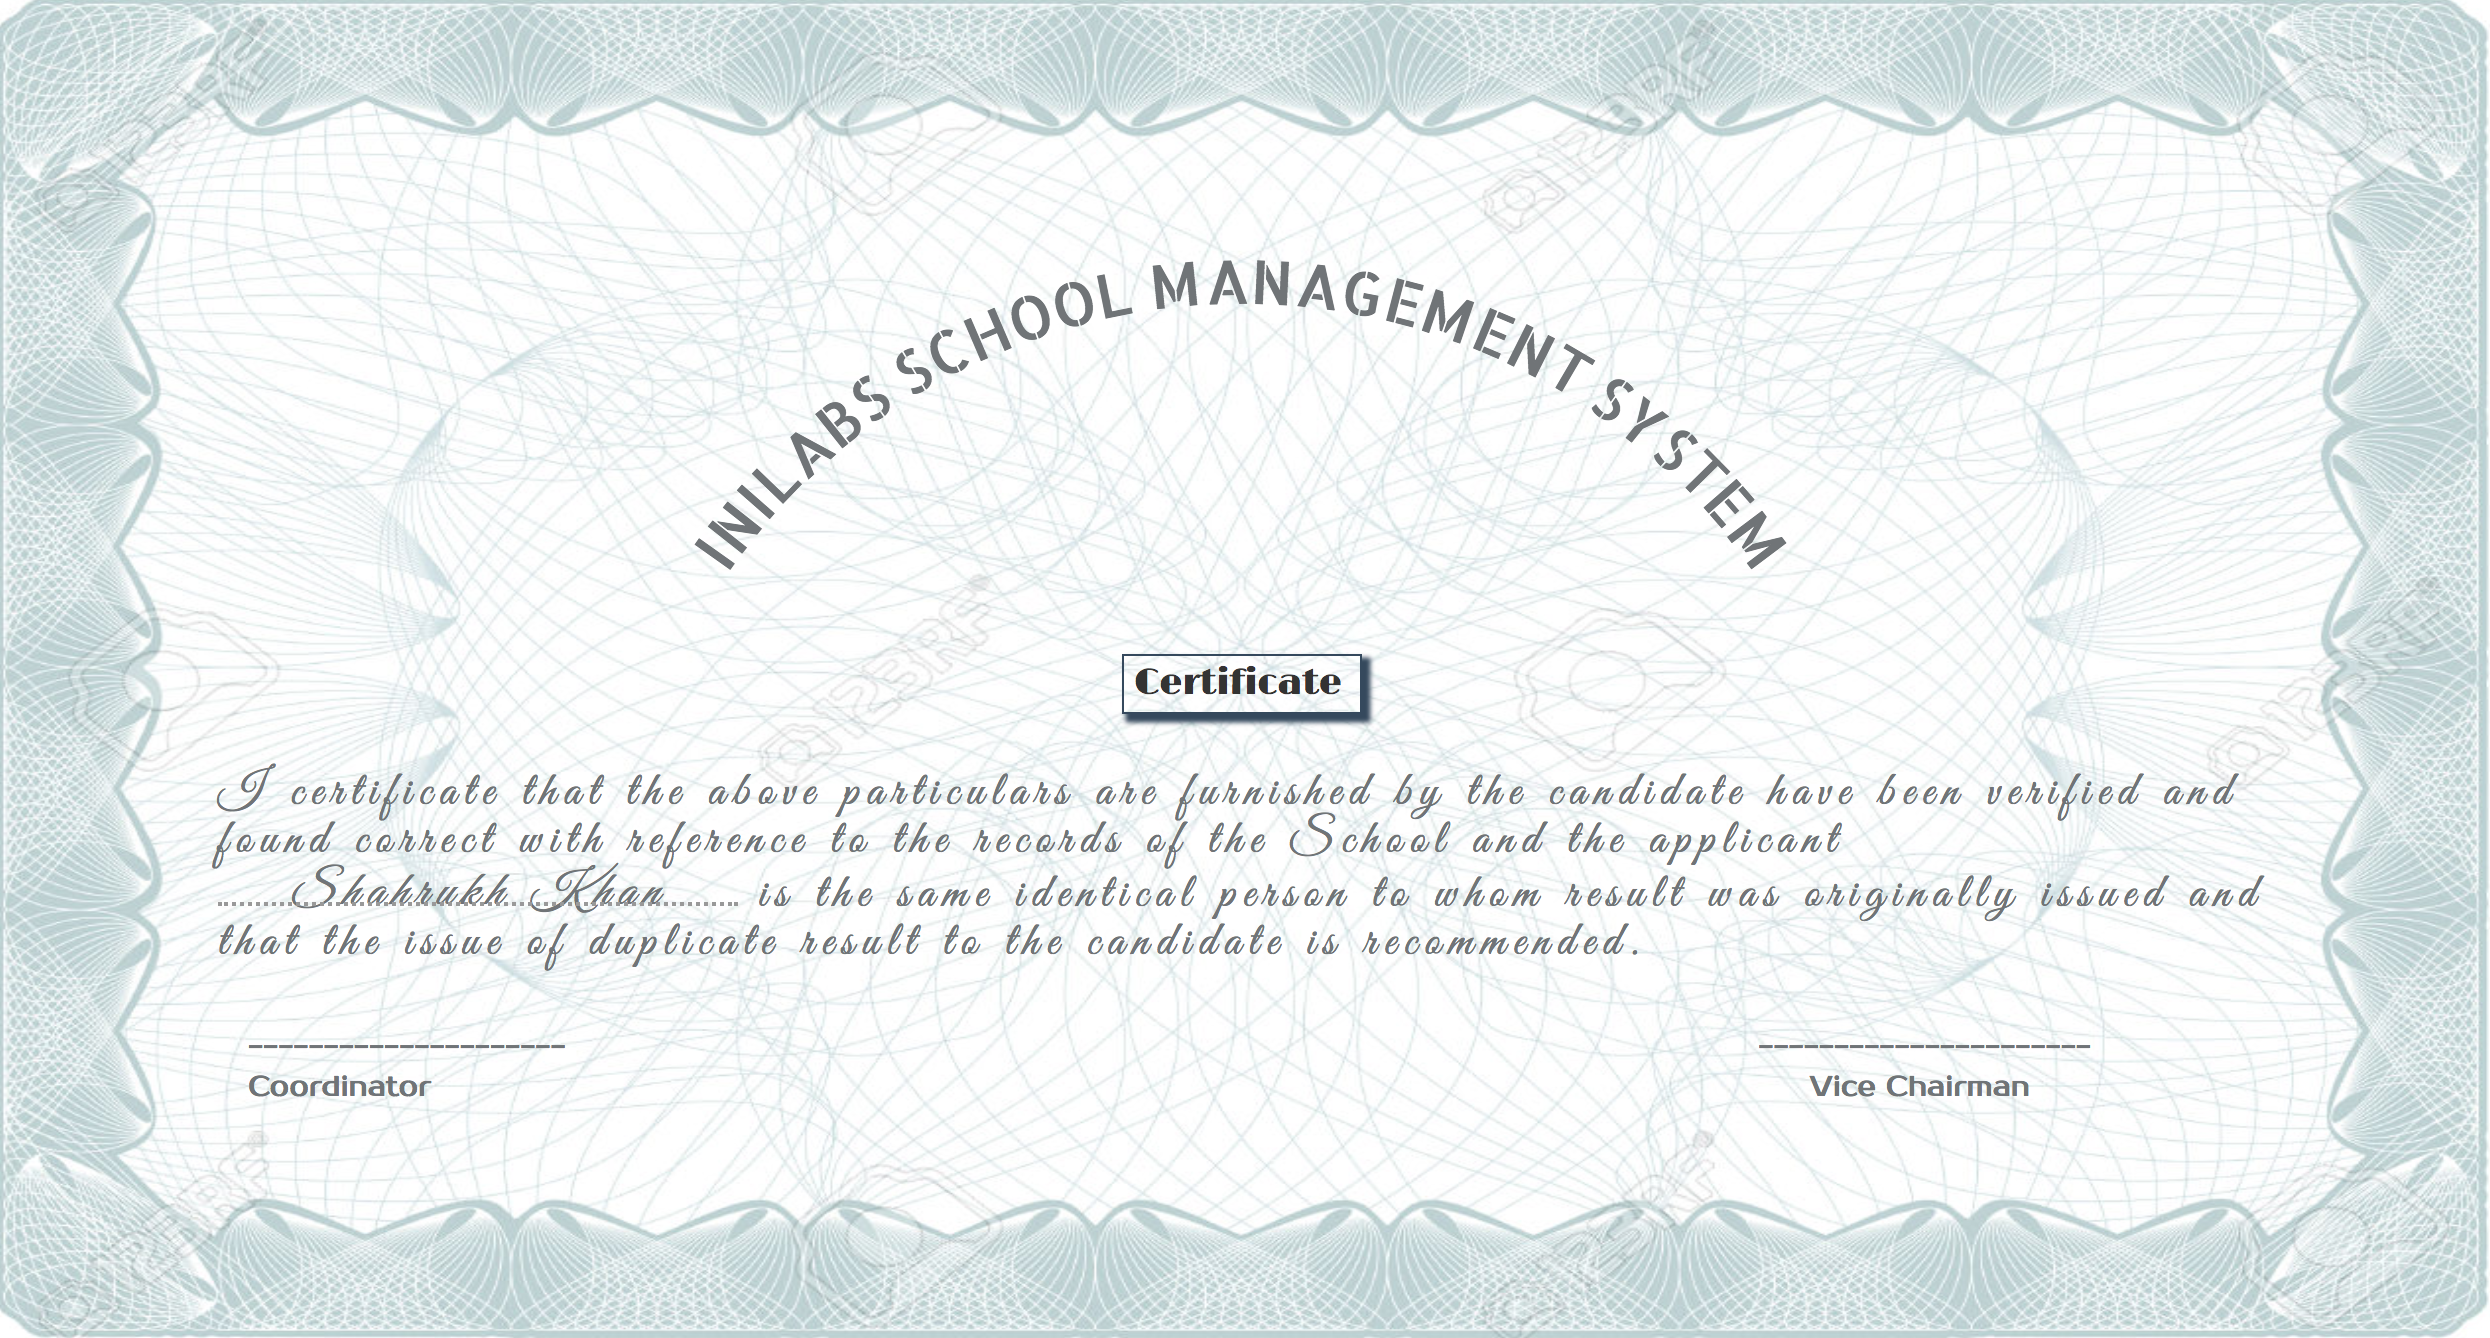
then go to certificate sub menu from report menu
From this menu you can generate various student certificate
Setting
How to Update Site Settings
Login as admin
Select Settings sub menu from settings menu
Fill all fields as you want
you can set currency Code & symbol, default language, attendance policy and many more from settings tab
How to Update Payment Settings
Login as admin
Select Payment Settings sub menu from settings menu
Fill all payment credentials and save
How to Update SMS Settings
Login as admin
Select SMS Settings sub menu from settings menu
Fill all sms gateway credentials and save
Administrator
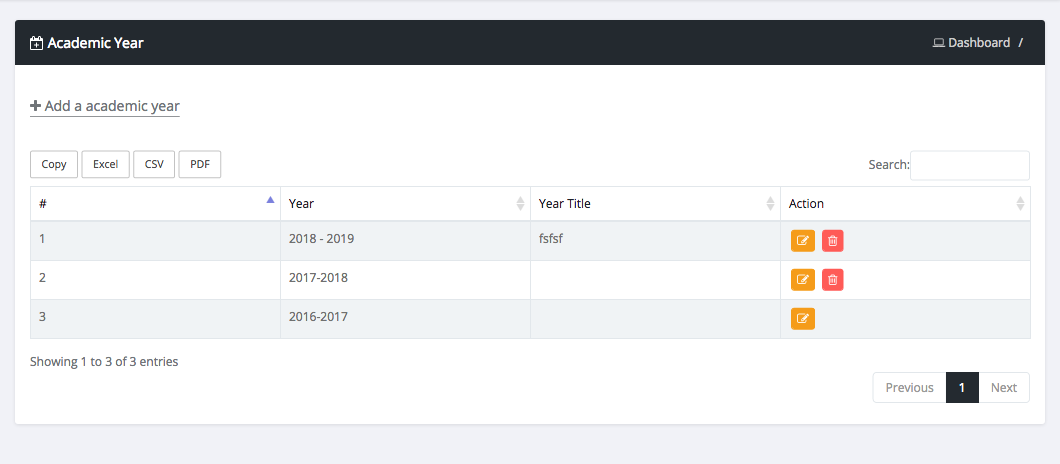
How to Update Academic Year Settings
Login as admin
Select Academic Year sub menu from administrator menu
here you can add new year or update old session.
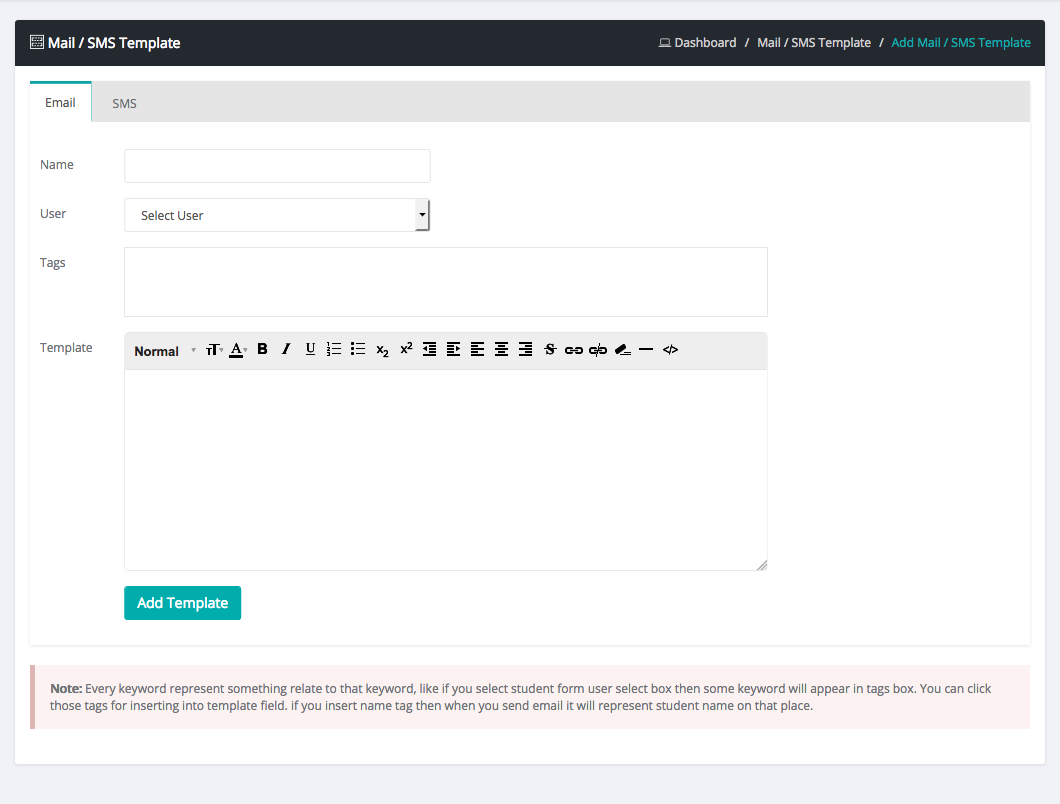
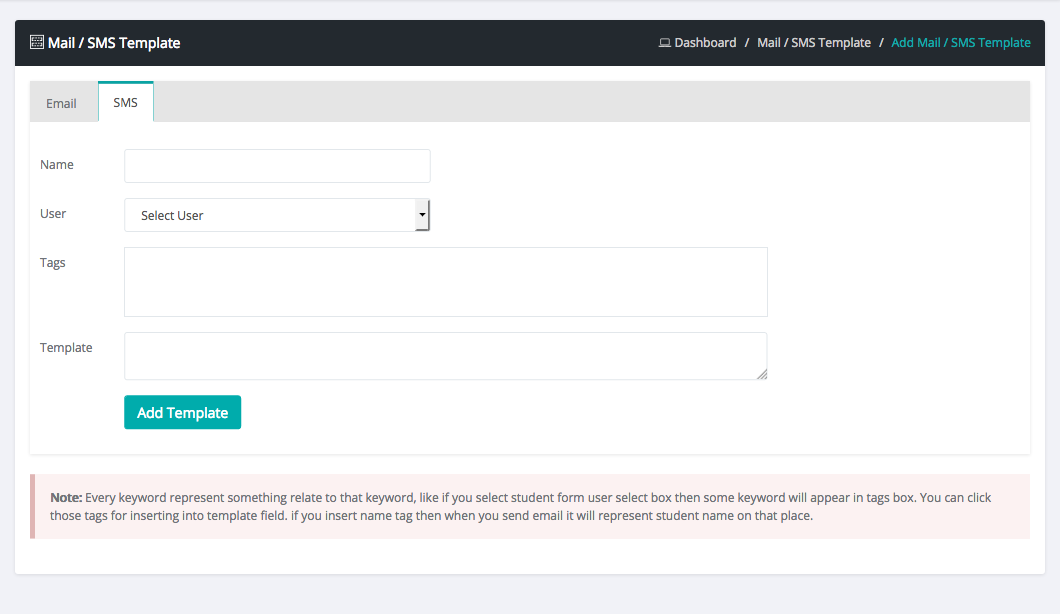
How to Update Email/SMS Template Settings
Login as admin
Select Email/SMS Template sub menu from administrator menu
here you can add/edit/delete/see new template or update old template
How to Get Backup?
Login as admin
Select Backup sub menu from administrator menu
here you can download database backup of our system
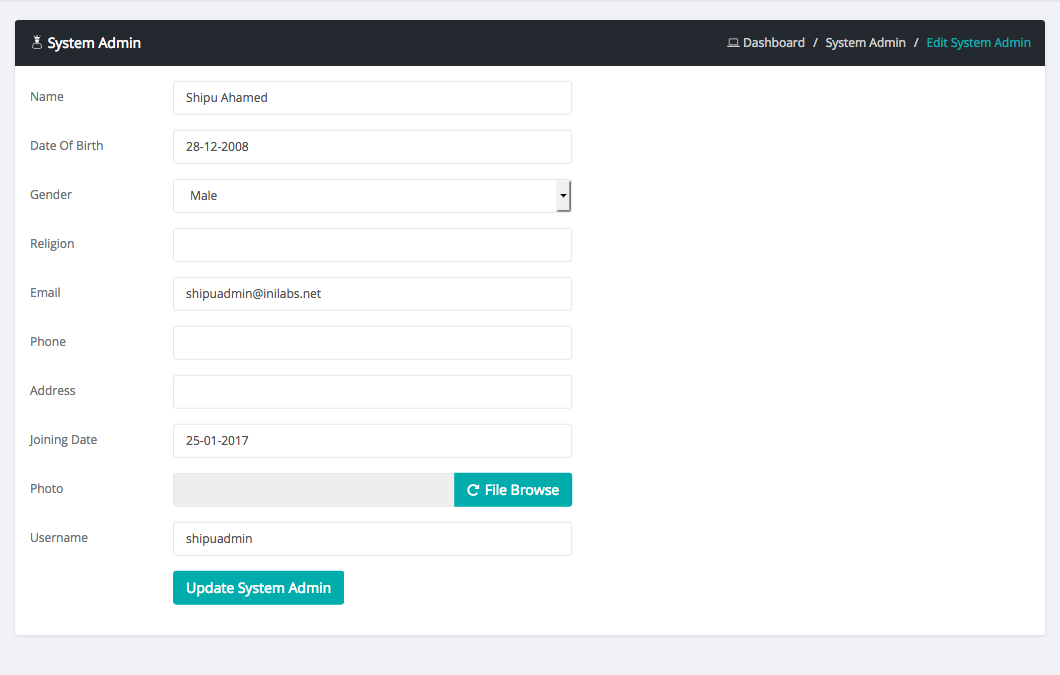
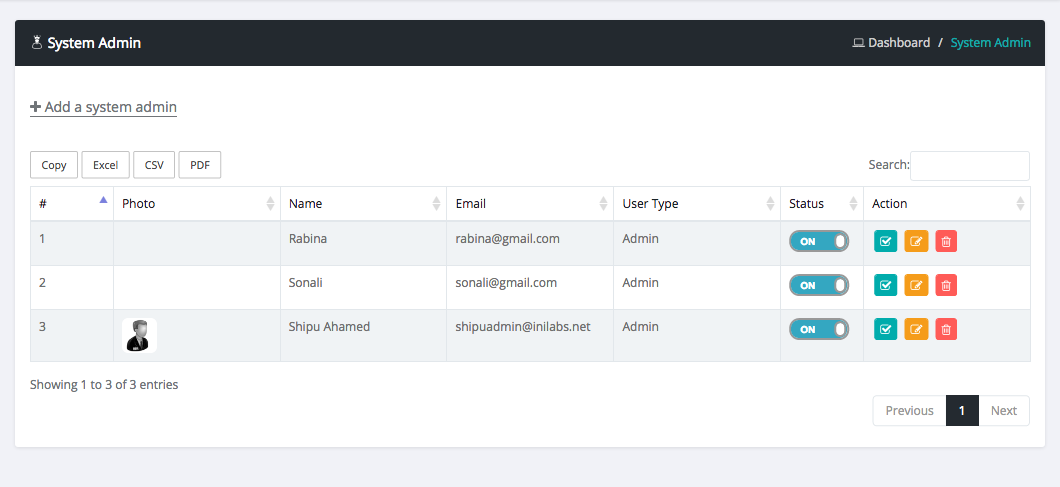
How to manage System Admin?
Login as admin
Select system admin sub menu from administrator menu
here you can create & manage all system admins of your system
Reset Password
Login as admin
Select Reset Password sub menu from administrator menu
here you can Reset Password of any user you want.
Permission
Login as admin
Select Permission sub menu from administrator menu
here you can set Permission of any user type you want.
User Type
Login as admin
Select User Type sub menu from administrator menu
here you can Create/Manage unlimited User Types.
Complain List
Login as admin
Select Complain sub menu from administrator menu
here you can Create/Manage unlimited Complain.
Page Builder Module
How to make pages from back-end
Login as admin
Select Pages sub menu from Frontend menu
here you can add new page or update old pages.
Front End
How Front look like!
Report
What is Report
You can see and generate multiple types of report from report menu
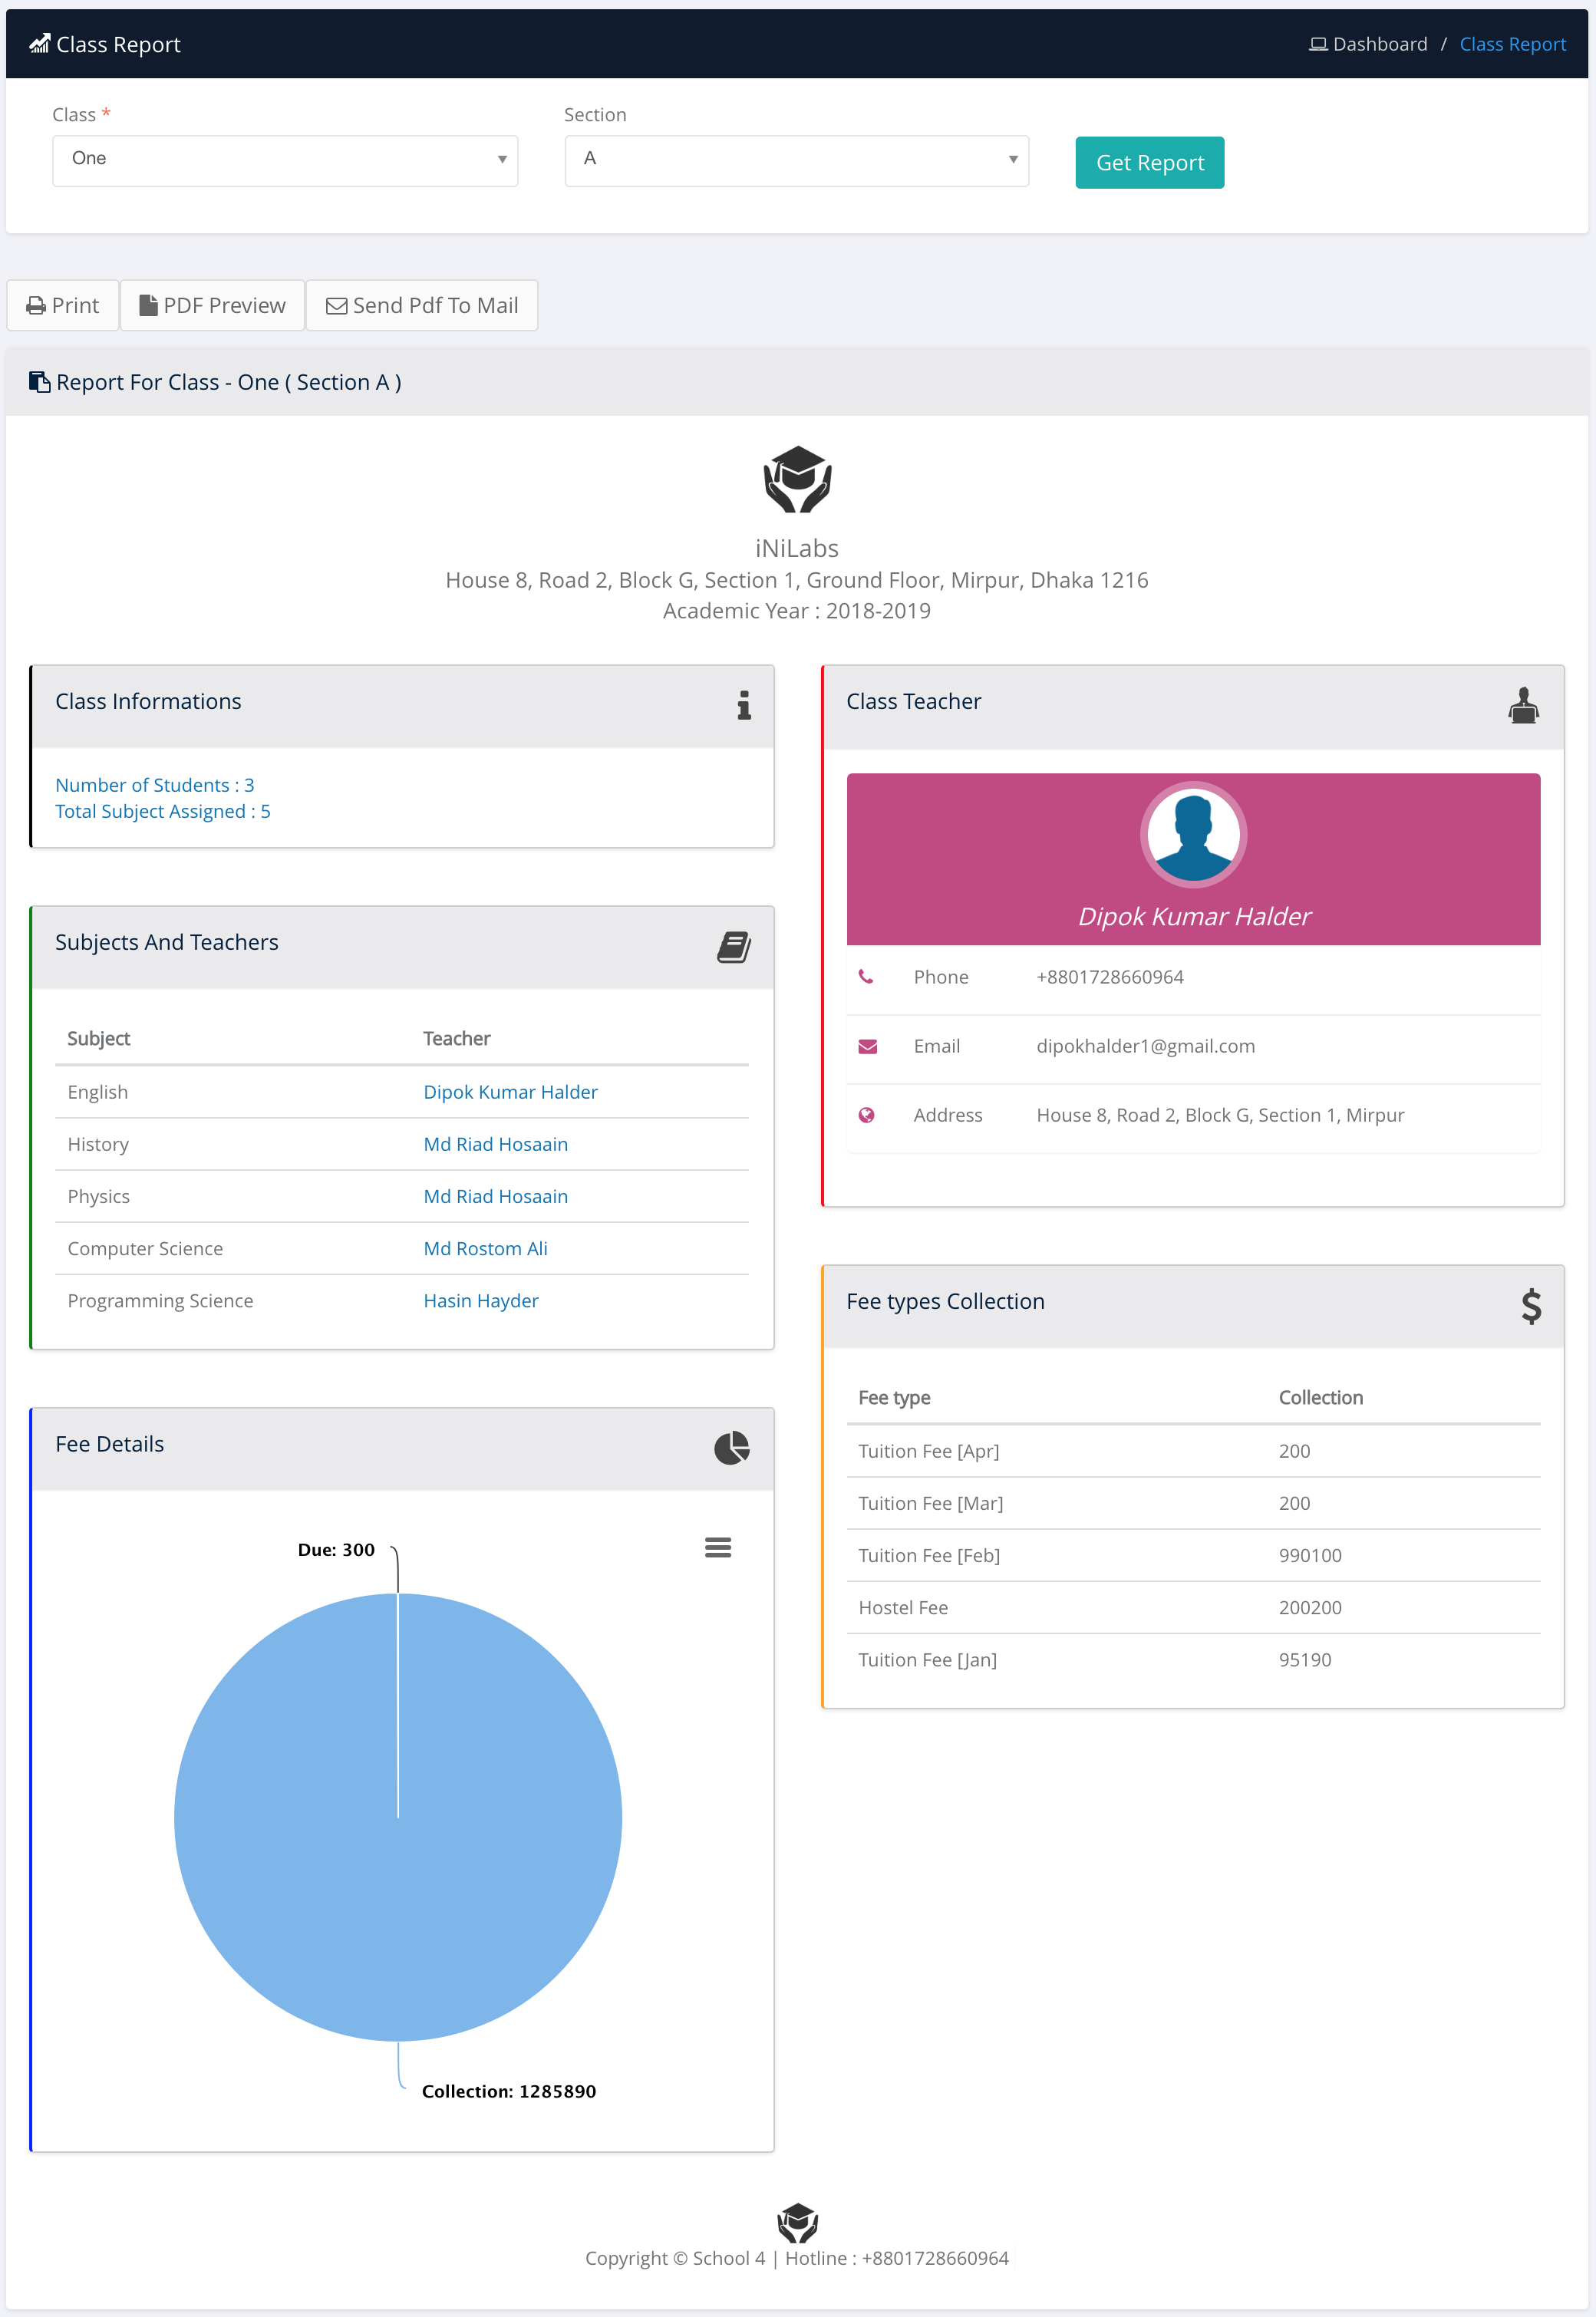
Class Report
Login as admin
Select class report sub menu from in sidebar
Select Class & Section
Here you will get
Class details information,
Class subject & teacher information,
Class student information,
That class account information.
Fee type Collection
This Class Student Account Information.
Account Statistics
Attendance Report
Login as admin
Select Attendance report sub menu from in sidebar
Select Attendance type, class, Section , subject & date
Here you will get
Total present/absent attendance Information of that class.
Student Report
Login as admin
Select Student report sub menu from in sidebar
You can get various types of student report from here
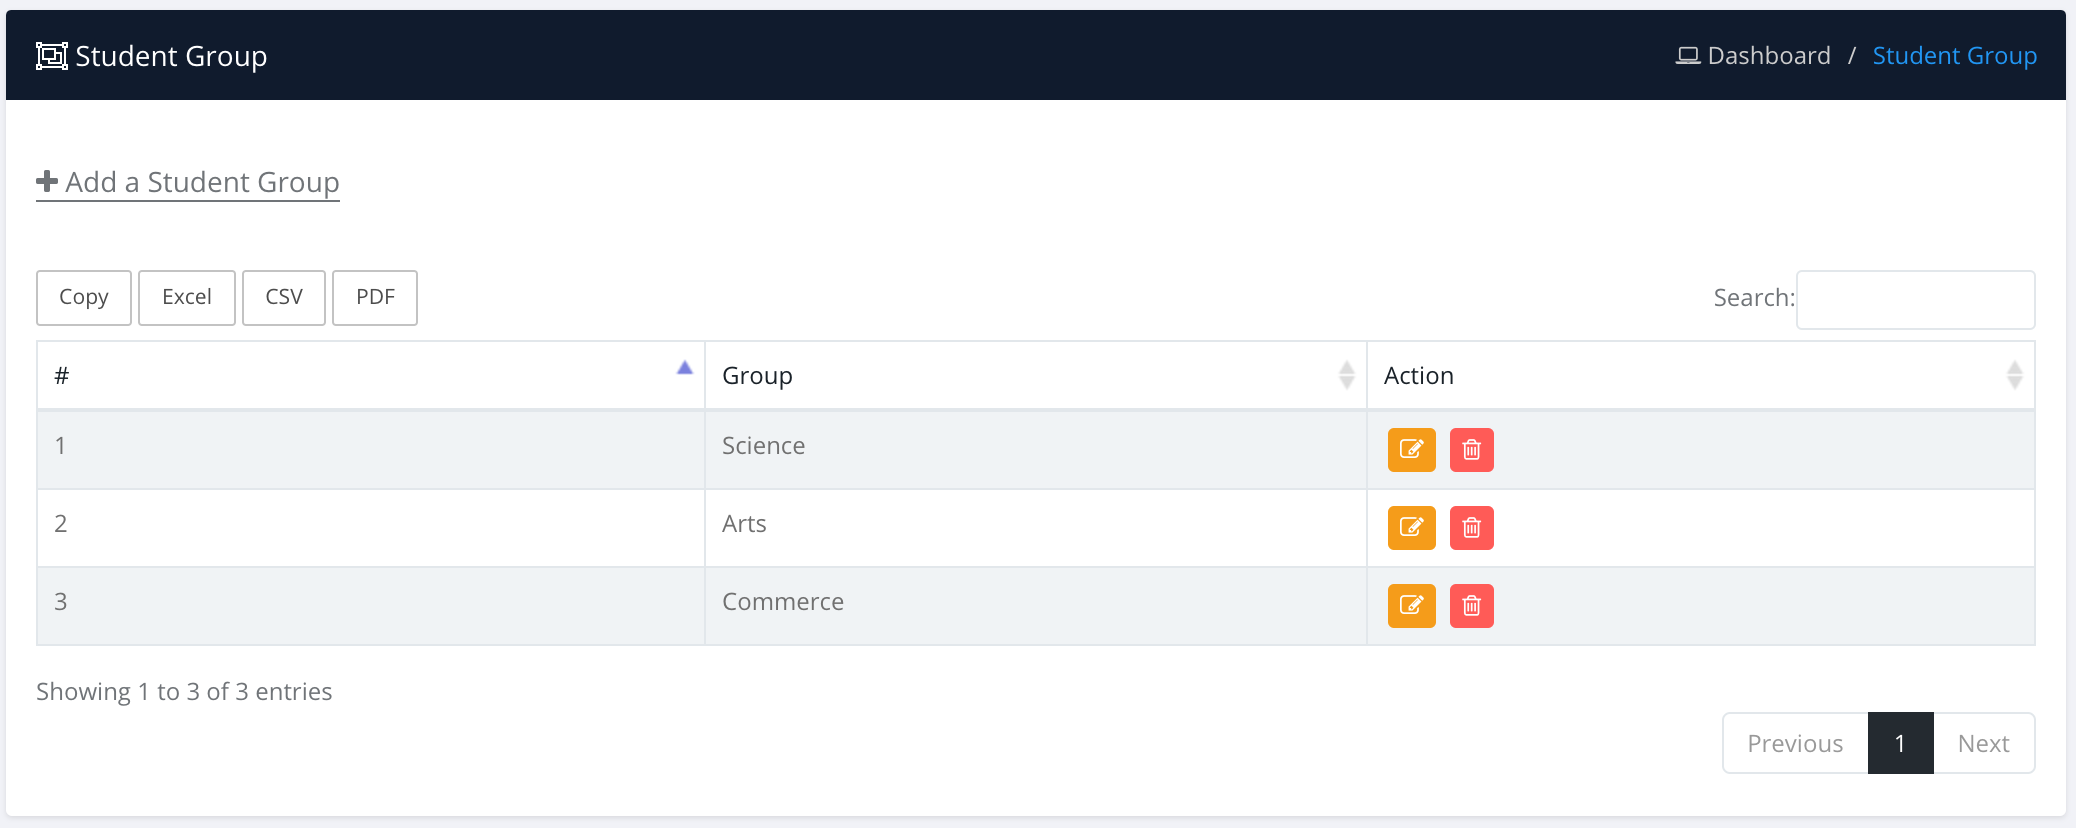
Student Group
Login as admin
Select Student Group sub menu from in sidebar under administrator menu
Admin can manage student group e.g (Science, arts, Commerce) from here
Auto Generate Invoice
What is Auto Generate Invoice ?
Auto Generate Invoice for Library, Transport and Hostel. In each month generate invoice a particular date in every month. default automation date is 5(automation must be between 1 to 28).
Automation date uses for automatically add fee amount of library, transport & hostel membership holders in their account balance.
How to Set Auto Generate Invoice Date ?
Login as admin
Select setting menu in sidebar
Then put your auto generate invoice date in Automation field
How to Set Attendance
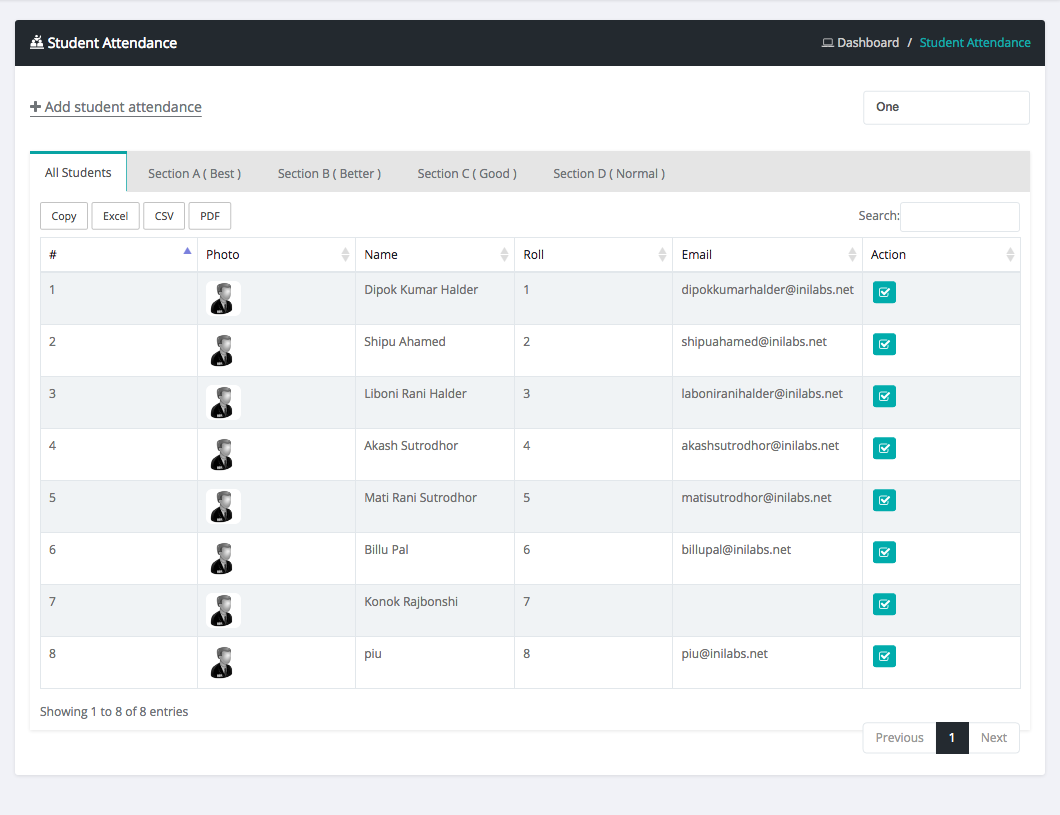
1. Student Attendance
Login as admin or teacher
Select attendance menu in sidebar
Then select student attendance
Click Add student attendance Button
Select Class and Date and press Attendance Button
Check Student row Checkbox in Action Column for student attendance.
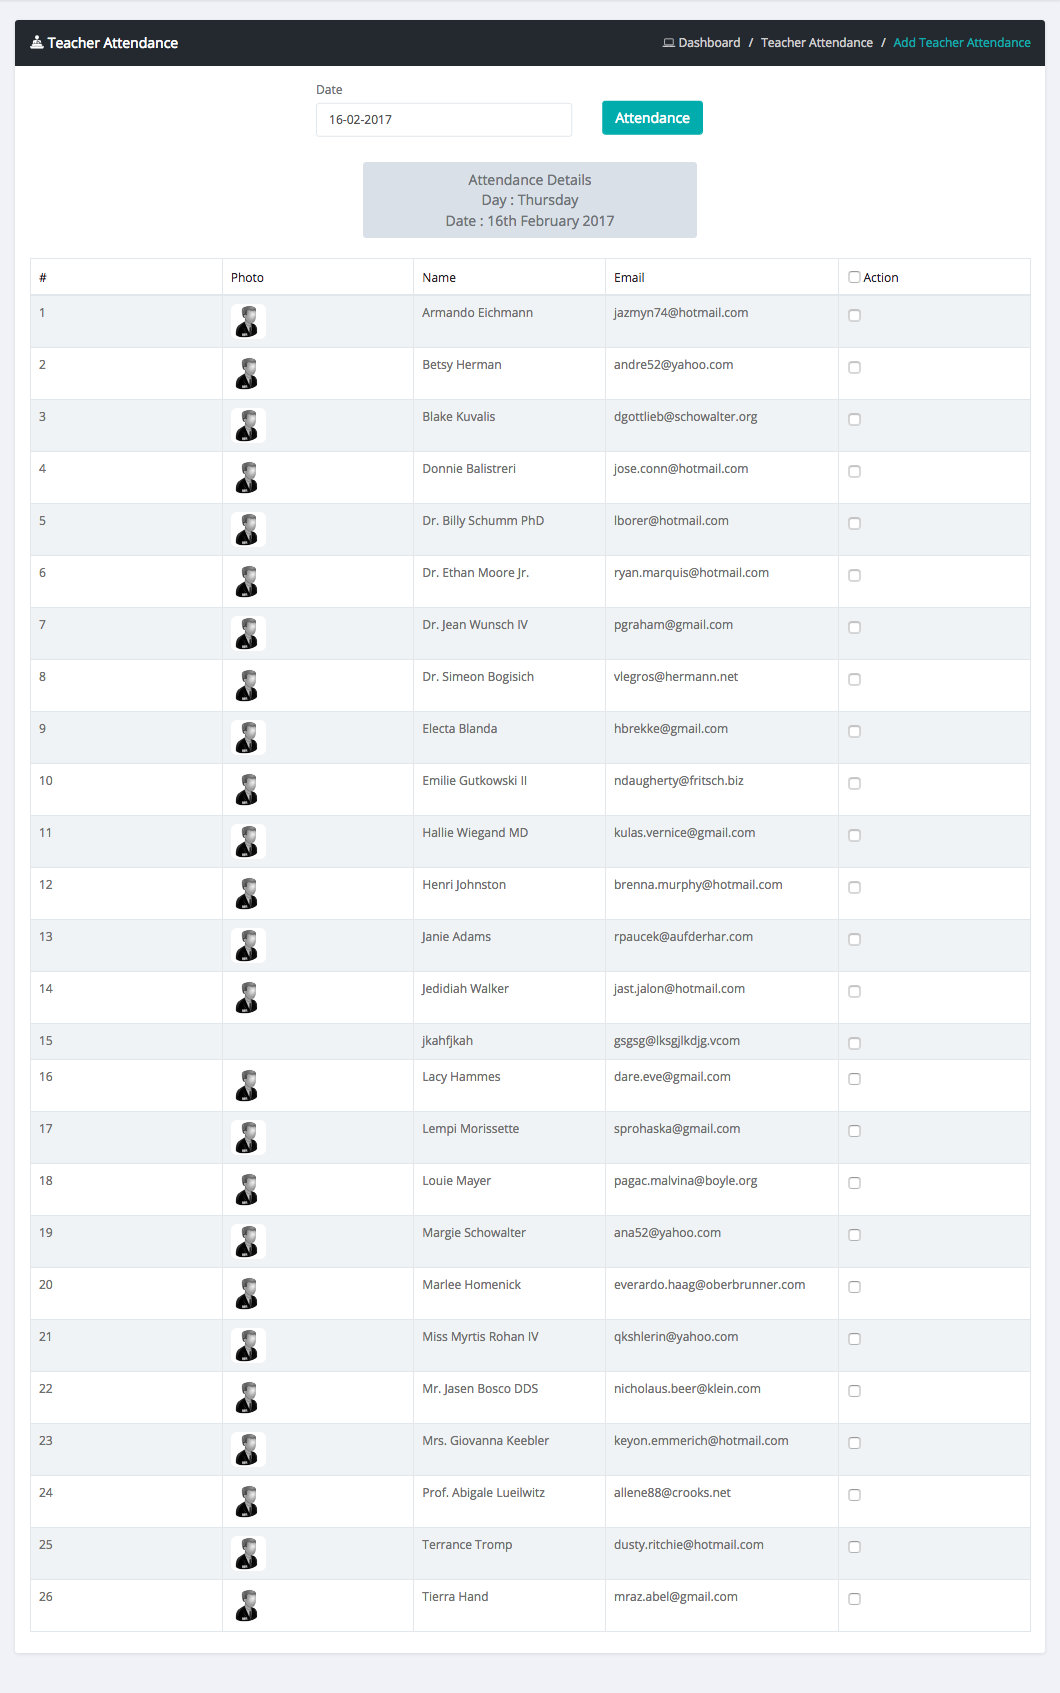
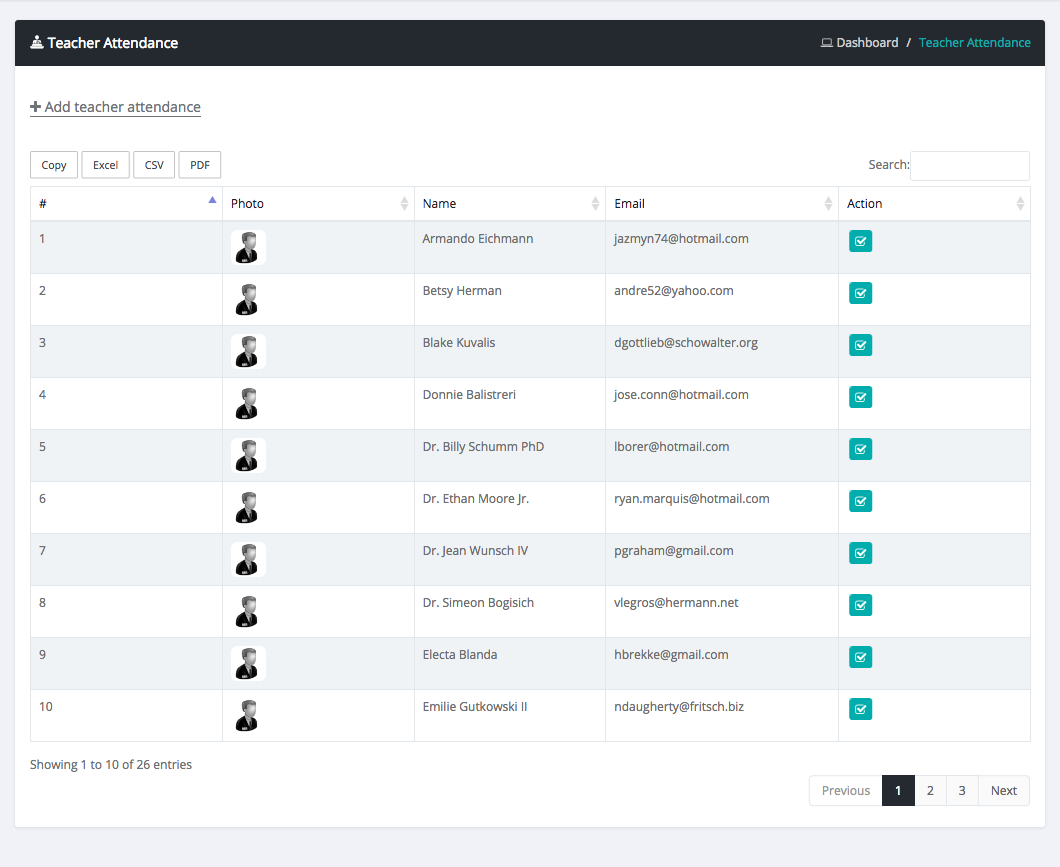
2. Teacher Attendance
Login as admin
Select attendance menu in sidebar
Then select teacher attendance
Click Add teacher attendance Button
Select Date and press Attendance Button
Check Teacher row Checkbox in Action Column for teacher attendance.
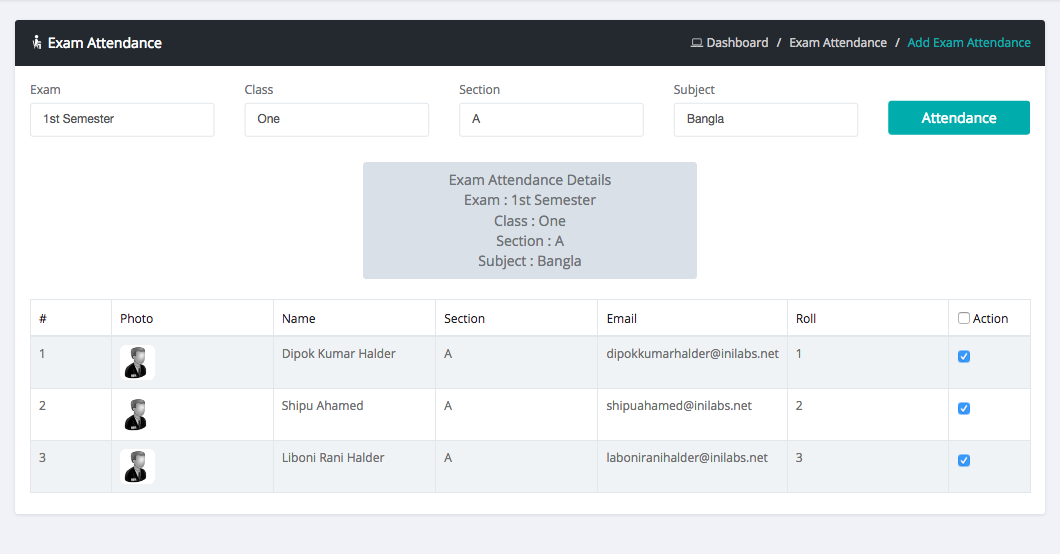
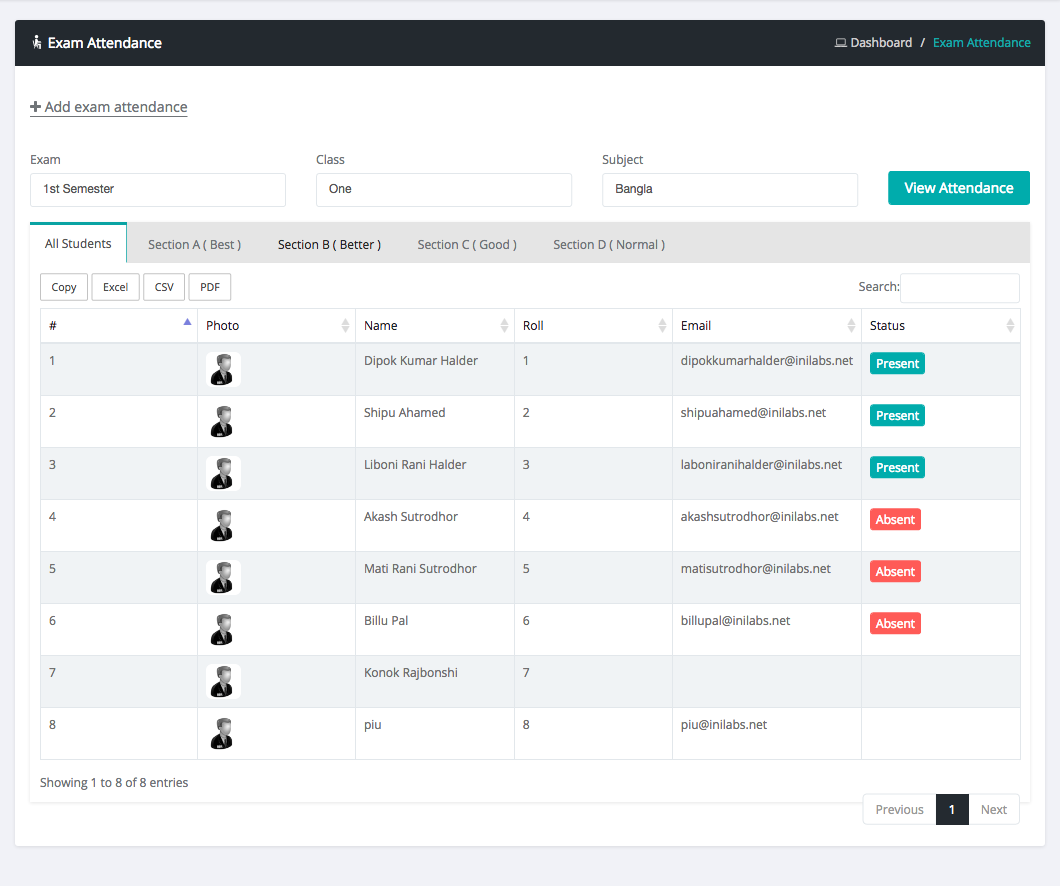
3. Exam Attendance
Login as admin or teacher
Select attendance menu in sidebar
Then select exam attendance
Click Add exam attendance Button
Select Exam, Class and Date and press Attendance Button
Check Student row Checkbox in Action Column. That means Student attend that exam.
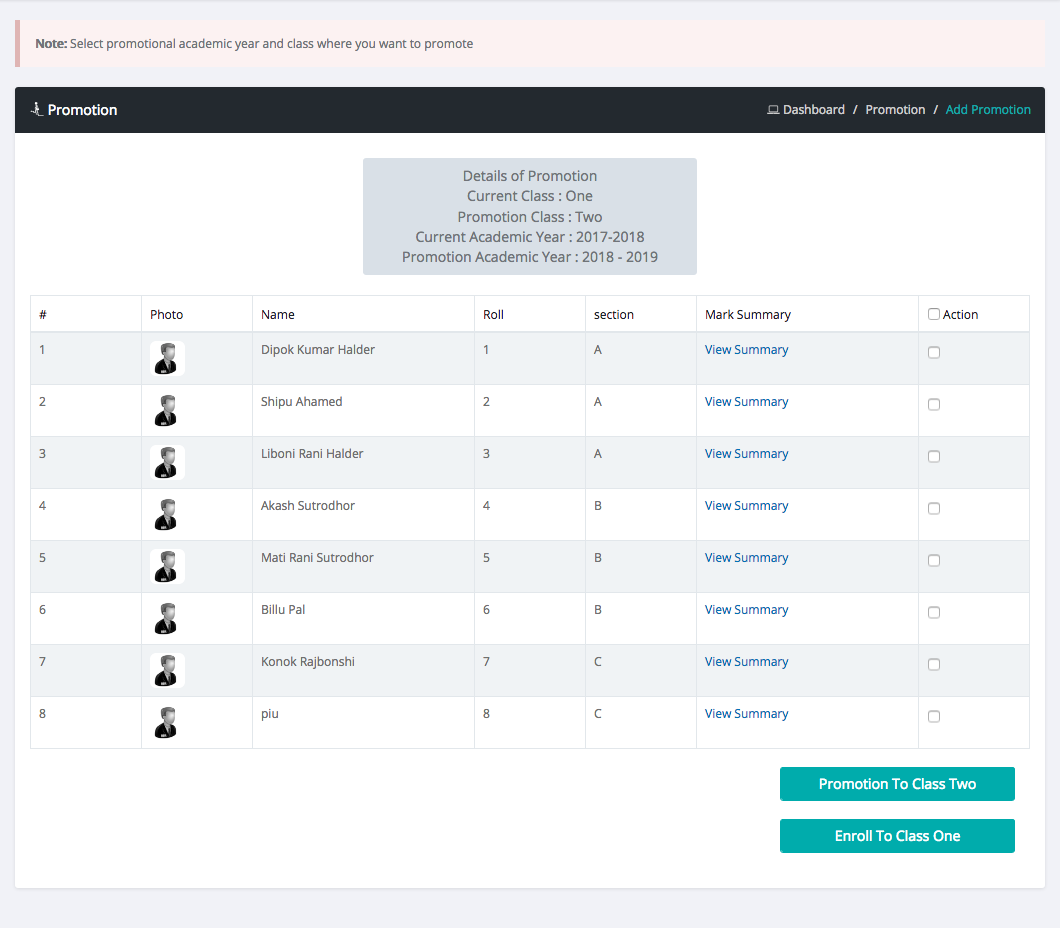
Student Promotion to Next Class
Step 1: A list of student qualified for promotion to next class
Login as admin or teacher
Select promotion menu in sidebar
Then select class
After select class the page load all subject under that class with extra field
Set the minimum number in each subject field for promotion to next class
Then Click Promotion Mark Setting Button
Step 2: Final step of student promotion to next class
Status of student in result column
Check Student row Checkbox in Action Column for promote student to next class.
Then Click Promotion To Next Class Button
Paypal Settings
Login as admin
Select account menu in sidebar
Then Select Payment Settings
Fill out your paypal information
Default Paypal Sandbox off. if you want to test your paypal setting then Paypal Sandbox button should be on.
payumoney Settings
Login as admin
Select account menu in sidebar
Then Select Payment Settings
Fill out your payumoney information
Default payumoney Sandbox off. if you want to test your payumoney setting then payumoney Sandbox button should be on.
Stripe Settings
Login as admin
Select account menu in sidebar
Then Select Payment Settings
Fill out your Stripe information
Default Stripe Sandbox off. if you want to test your Stripe setting then Stripe Sandbox button should be on.
Mail and SMS
What is Mail and SMS Template ?
Mail and SMS Template is structure of multiple purposes mail and sms.
How to Add Template
Login as admin
Select mail/sms menu in sidebar
Then Select mail/sms template
Click Add a template Button
Then Create your Template
What is Tags ?
Tags is attribute of each student information. Just like Student Name, Student Class, Student Section, Student Result with Marks and Grade, Student Email etc.
Media
What is Media ?
Share important documents for all users in school management system or Share documents only for a particular Class.
How to Add Documents and Share ?
Login as admin or teacher
Select media menu in sidebar
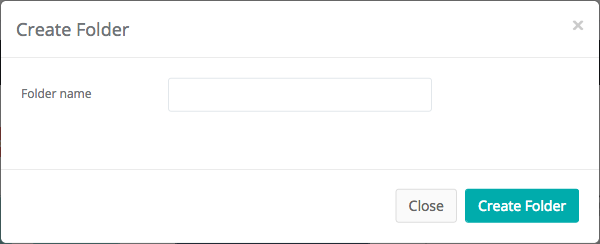
Then Add a File or create a folder
For Share file or folder click globe icon.
And choose public for all users or choose class for a individual class students.
Visitor pass manage
What is visitor pass management ?
With this application receptionist can handle visitors of the organisation. receptionist can create pass for visitors and have report of those visiors.
How to use it?
Login as receptionist
Select visitor pass menu in sidebar
Then fill required information for create pass for the visitor with webcam and print the pass.
When visitor will finish his visit then logout his access.
Total information can be accessible from one page.
Account Management
Invoice
Login as admin
Select Invoice sub menu from account menu
here you can Create/Manage Invoices
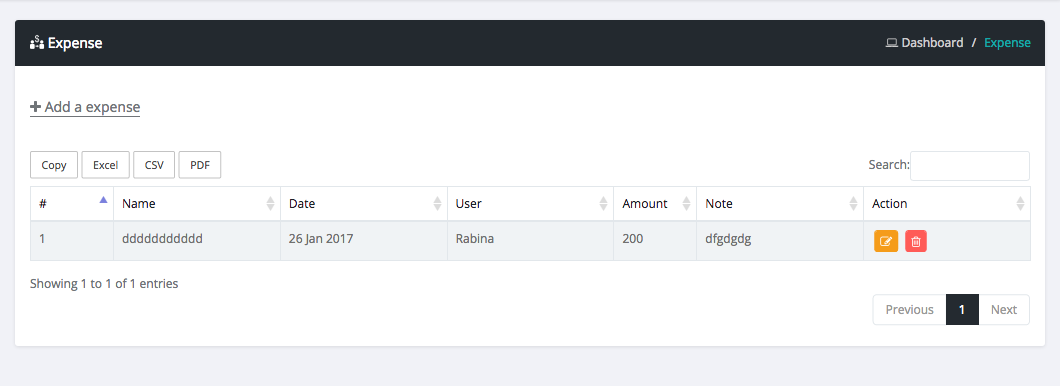
Expense
Login as admin
Select Expense sub menu from account menu
here you can Create/Manage Expenses
Payment History
Login as admin
Select Payment History sub menu from account menu
here you can see all payments made
Fee Types
Login as admin
Select Fee Types sub menu from account menu
here you can manage all fee types
Upgrade Project
Upgrade to v3.1 or v3.2 to v3.3
Login as admin.
Collect the upgrade zip file from the script provider/author(CloudyZx).
Select update sub menu from administrator menu.
upload the zip file collected from author.
Wait till the process running and do not click or reload the page while processing.
When process ends the project will automatically reload and sign out from the admin panel.
Now login and enjoy the new updated project with your existing data.
How To Contact Us?


What else

Nevertheless it's still not finished. We like to improve it wherever we can and appreciate your feedback.
